
Tech tip: Setting different settings packages within a component
Reasons & Benefits
When it comes to 3D printing, it is sometimes necessary to optimize the settings for the production of a part. Typically, the same settings are used for the entire part. However, sometimes it is advantageous to apply different settings within a part. This can be due to different Found may be necessary, for example for an individual distribution of strength and density, for a change in stiffness (especially with TPU) or for a different position of the center of gravity.
By using individual settings packages within a 3D printed component, different Advantages This can lead to a reduction in the cost of the part. By adapting the settings to the needs of the component, material can be saved, which then translates into a lower price. It can also reduce printing time. For example, if only certain areas of the component need to be printed at higher density, the printing process can be completed more quickly. Furthermore, using different settings to improve aesthetic properties can result in more visually appealing components.
Overall, the use of customized settings packages within a 3D printed part offers many advantages. It can lead to better adaptation to the requirements of the part and help save material and time.
Currently, in Eiger we have the possibility to set a settings package for a component that consists of the following:
Composition of a setting package
- Different types of infill:
- Number of wall layers from 1-10
- Number of floor and ceiling layers from 0-15
- Individual laying of the different long fibers:

How do I proceed? (Step-by-step instructions)
If you want to integrate different settings packages into one component, proceed as follows:
In your CAD design software, cut the component into two individual pieces along an individual surface.

Set a reference frame with a wall thickness of 0.01 mm. This frame won't be printed (because it's too thin for the nozzle), but is necessary to accurately position the parts in the build view.
Export the individual parts of the component as STL files from the design software. (The frame must be exported with each part.)
Import the individual parts of the component into the Eiger Software. Setting the settings packages for the individual sections within the component.


Assembling the individual parts of the component into one component in the build view of the Eiger software.

The final component


Test the Eiger software now!

Request a DEMO component now!
Learn more about the applications with the MarkTwo!
Which continuous filament is suitable for which application? How do I design correctly for filament 3D printing? What do users say about it, and where can I find more information? – You've come to the right place! We've listed several information sources that will help you get the answers you need.
Construction guide
This guide is intended to help you generate ideas for better design results for your components. It's specifically designed for additive manufacturing processes.
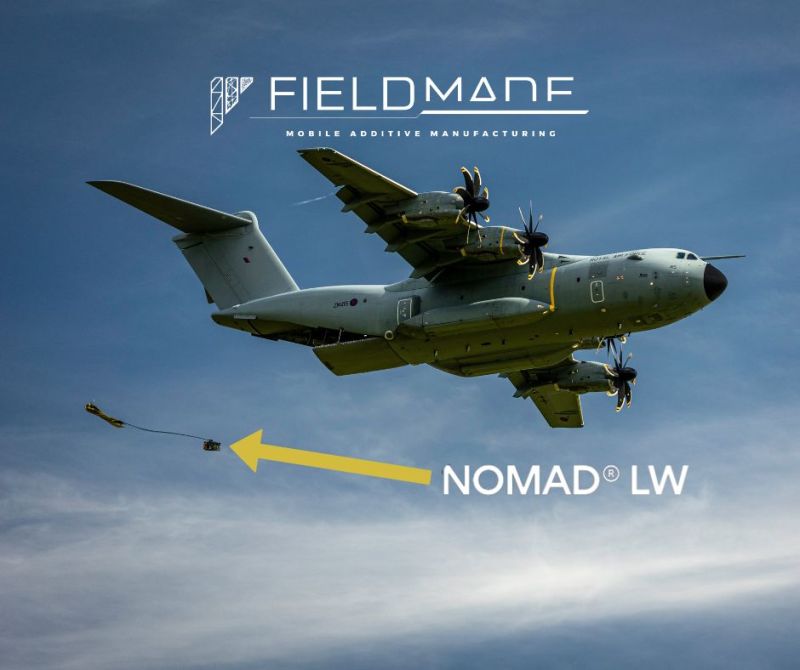
Stronger than aluminum
For years, a compromise between strength, delivery time, and cost had to be accepted. This can now be easily avoided!
Webinar
Find out which material works for which application and how you can individually insert it into the component with EIGER.


![[Podcast: Factory of the Future] Is 3D printing a business case for every factory?](https://www.mark3d.com/de/wp-content/uploads/2023/08/fabrik-der-zukunft-500x383.png)
Hinterlasse einen Kommentar