
The high-strength properties of reinforcing fibers and the surface texture of onyx allow for beautiful and functional 3D-printed components. However, some components require a special aesthetic. In this blog post, we explain how to paint or varnish 3D-printed components.
1. Prepare
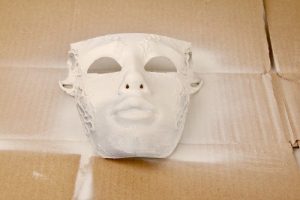
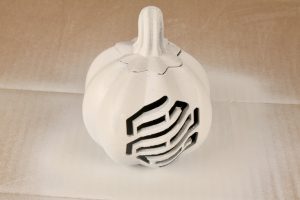
The 3D-printed part must be prepared for painting. To ensure the paint adheres to all surfaces, any residue from support material or reinforcing fiber must be removed. Wash off the gluing residue with water and let your component dry.
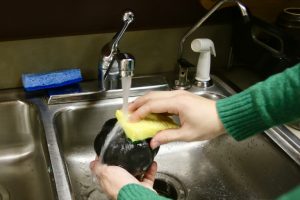
Wash any adhesive residue from the 3D printed part.
2. Get in shape
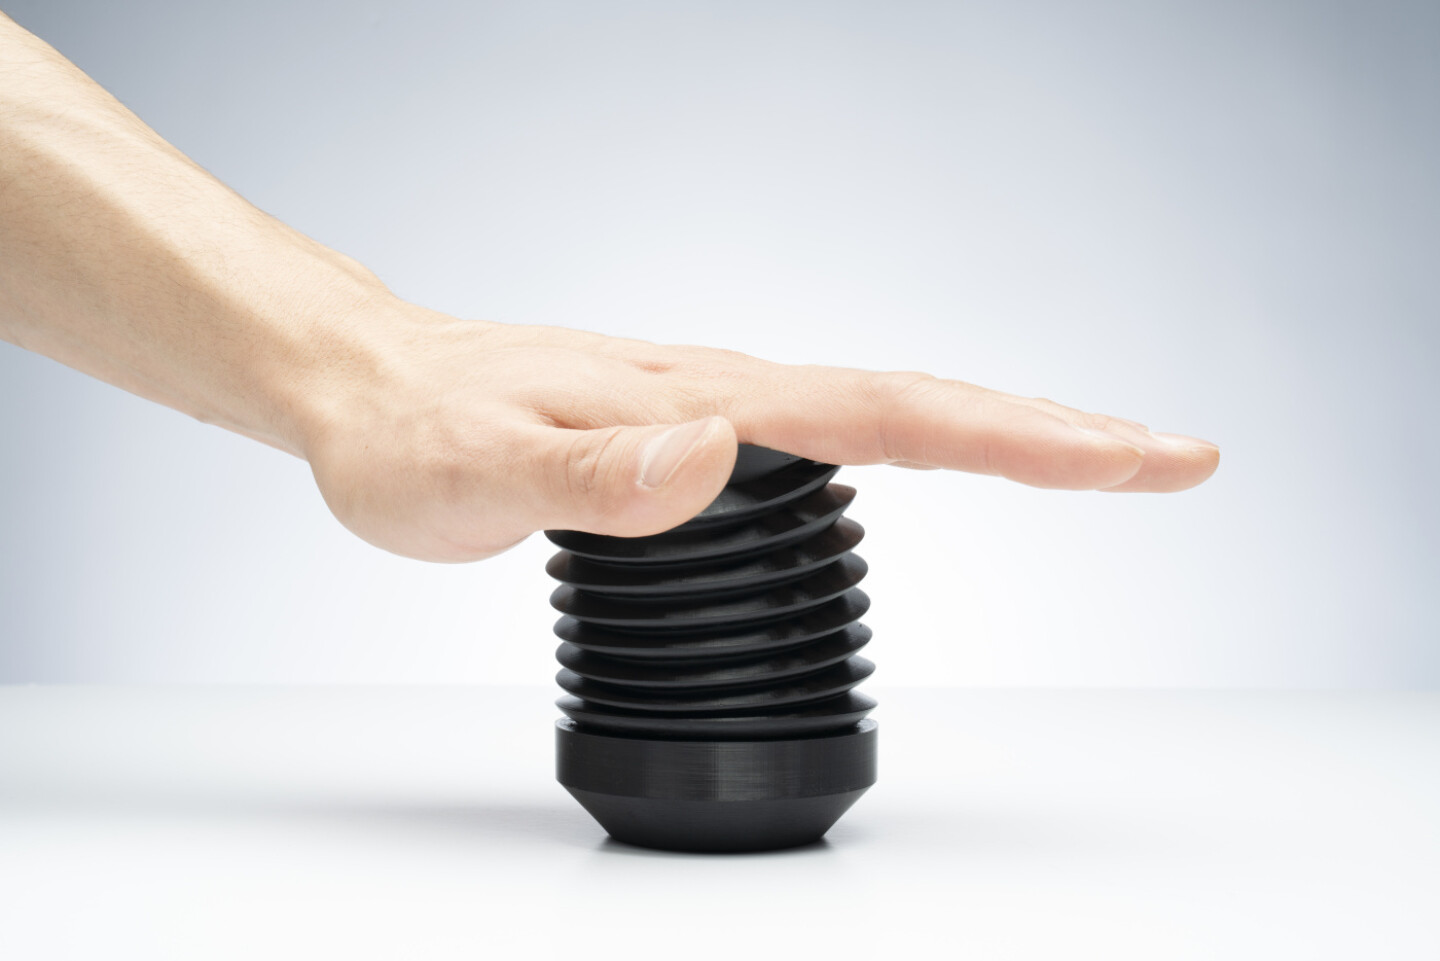
You can easily remove small threads or lumps with tweezers or side cutters.
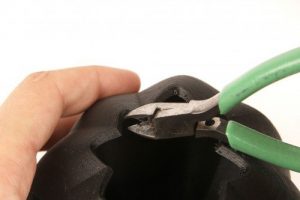
Carefully remove any unwanted material.
3. Fine grinding
To remove rough spots, layer patterns, or minor scratches, we recommend wet sanding with 220-grit sandpaper. Protect yourself from potential carbon fiber dust with good ventilation and a face mask.
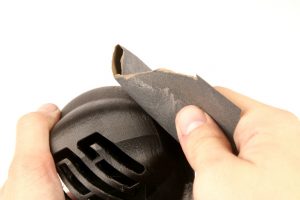
Be careful not to sand the exterior walls completely.
4. Remove dust
After sanding, wash off the fine dust particles with a wet dish brush. Make sure to get into every nook and cranny. Once dry, you can remove any remaining residue with a duster.
Request a DEMO component now!
See for yourself how strong the components are.

Method: Spray paint
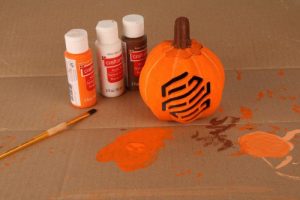
1. Select spray paint
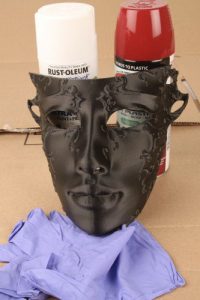
Spray paint can be applied to 3D-printed components just like standard plastic parts. Nylon is a highly polar polymer and well-suited for this type of treatment. Use a paint suitable for plastics! To prevent the part from absorbing the paint, a primer is applied. Again, make sure it's suitable for plastic.
2. Security measures
Find a well-ventilated area to paint and dry. If possible, use a fume hood or spray booth. Wear respirators and gloves.
Paint in a well-ventilated area, wearing respiratory protection and gloves.
3. Set up the part
To paint the entire piece in one go, hang it up or place it on a stand. This way, you can reach every corner, even with more complicated geometries. If you don't have a special jig available, simply place the piece on a piece of newspaper. This will keep the area clean. If you only want to paint certain parts of the piece, you can cover the rest with masking tape.
4. Apply primer
Spray the primer onto the 3D-printed part. Spray distance and drying times vary depending on the brand. You can find these in the enclosed instructions or on the spray can. You need to prime everything that will be painted later. You may need to let the top dry, flip the part over, and prime the bottom.
The primer ensures that the paint is not absorbed.
5. Apply top coat
Once the primer is dry, spray the paint. Again, follow the manufacturer's instructions. If you spray too close or for too long in one spot, the paint will start to run unsightly. As with the primer, you can paint the first side, let the paint dry, flip the piece over, and paint the other side.
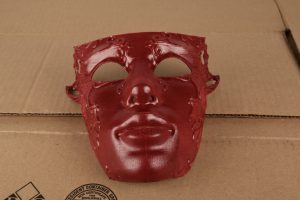
Apply the top coat and let it dry.
6. Let it dry
Let the piece dry. Follow the paint manufacturer's instructions. After that, the piece is finished.
The finished 3D-printed mask
Method: Hand painting
1. Select varnish
Acrylic paint is very suitable for painting our plastic parts.
2. Primer
Even when painting by hand, a primer is required to prevent the piece from absorbing the paint. You can paint the piece as described above.
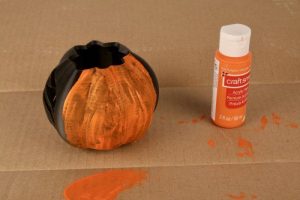
An onyx piece painted without primer. Several more coats would be required before the varnish would cover.
If primer is applied beforehand, the paint will not be absorbed.
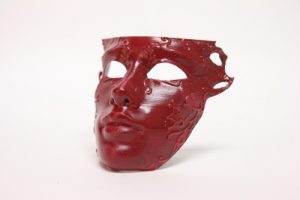
3. Painting
Once the primer is dry, you can paint the piece as desired. Make sure the room is well ventilated.
Hand-applied paint gives the piece a very special aesthetic.
4. Let it dry
Then let the part dry. Done.


Hinterlasse einen Kommentar