Z-axis calibration on the X-Series
Since February 2021, attentive Markforged X-Series users will have noticed that, in addition to the bed scan, the printer also calibrates the Z-axis before starting the print job. This involves the print bed moving slightly up and down while the integrated laser checks the movement.
However, this integrated calibration requires a few prints to be completed and only adjusts the Z-axis movements if the collected data meets certain criteria.
With the update of the new firmware on the printer there is also a new menu item: Menu – Utilities – Maintenance – Gantry Maintenance – Z-Calibration
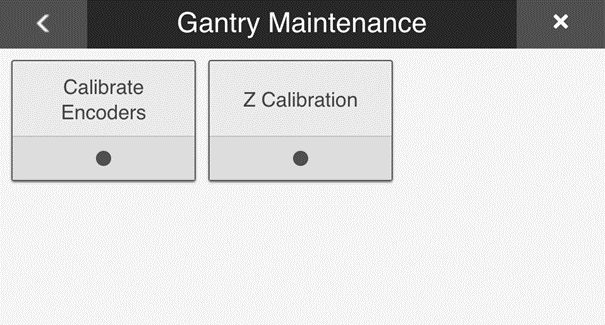
When executing this function, the 3D printer will first maintain a stable temperature, which can also affect the movement of the Z-axis. After that, calibration will begin. It's important not to touch the 3D printer at this point. Otherwise, the calibration will be corrupted.
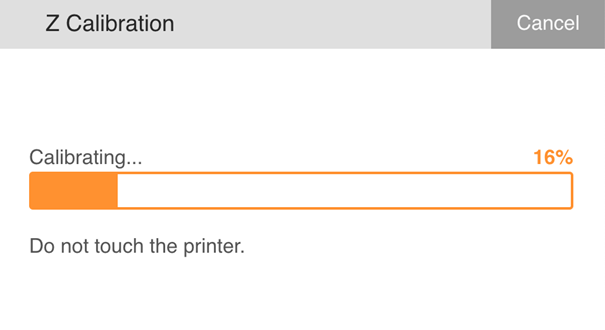
The entire Z-axis range is then traversed. The print bed must not touch the nozzle (upper limit) or the housing (lower limit).
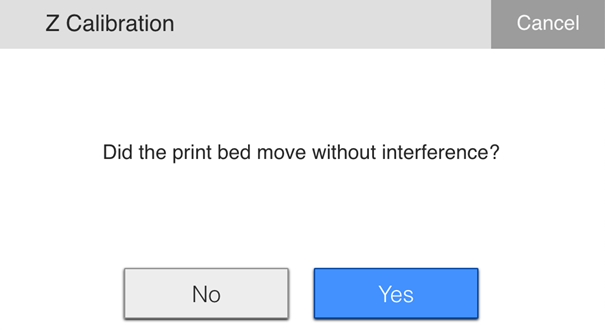
If the print bed has touched the nozzle or the housing, the calibration must be repeated. Otherwise, the calibration is complete.
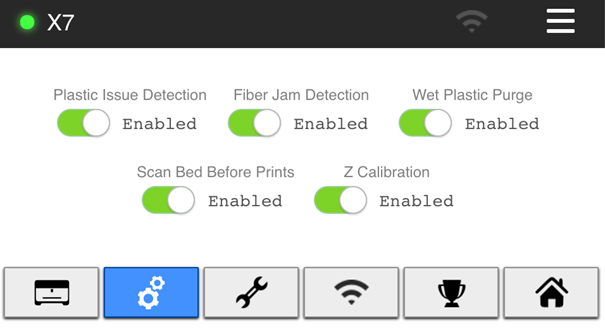
A notice:
Calibration can be done under Menu – Settings – System Info – Gear icon with the button “Z Calibration” can be displayed and exhibited:
Get to know EIGER now!
The Markforged EIGER software is powerful and very easy to use. Your parts can be quickly optimized with the right settings and fiber orientations to optimally design your part for your application.


Hinterlasse einen Kommentar