
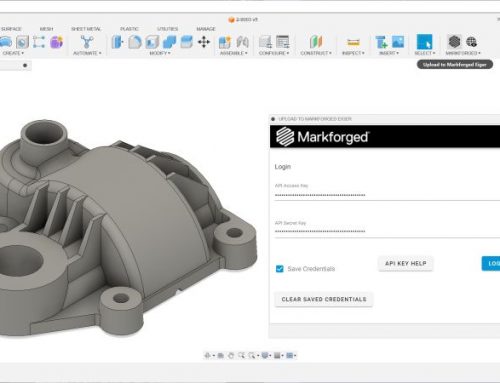
“How do you remove support material from Markforged 3D printers?”
That's a good question we get asked a lot. Today we're going to provide some helpful information.
Basically, Markforged 3D printers always use the same material for the support structure as for the component itself. For plastic printers, this means Onyx, Onyx FR, or Nylon, and for Metal X, the respective metal (tool steel, stainless steel, Inconel, or copper).
And how is this removed after printing?
For plastic parts, the cloud-based slicing software EIGER builds the support structure in zigzag lines beneath the areas with angles below 45°. This structure is narrow enough to support the area above, but wide enough that it can be removed like an accordion after printing. This leaves a slightly rougher surface on the part, which can be reworked if necessary. We also have a short video on YouTube with the Onyx material:
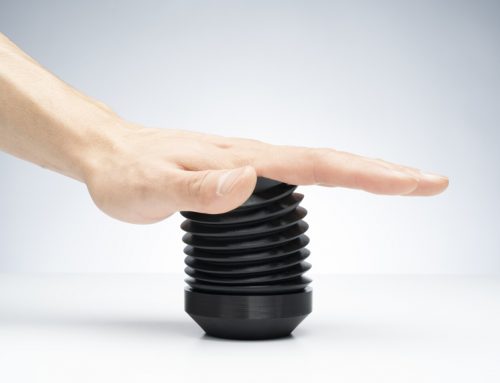
Request a DEMO component now!
See for yourself how strong the continuous fibers are.

How can you easily remove support material in metal 3D printing?
With the Metal X, a thin ceramic release layer is printed between the support material and the component. During the subsequent washing and sintering process, the layer of printed release material remains powdered. This allows the structure to be anchored to the raft (the printed base plate on the component) for better control of shrinkage and accuracy throughout the process, as well as for easy, tool-free removal after sintering. Since the components can be post-processed after the sintering process as required for the final application, the slightly rougher surface on the component where the support material was located can also be sanded down. This is demonstrated in the video at the following link:
Hinterlasse einen Kommentar