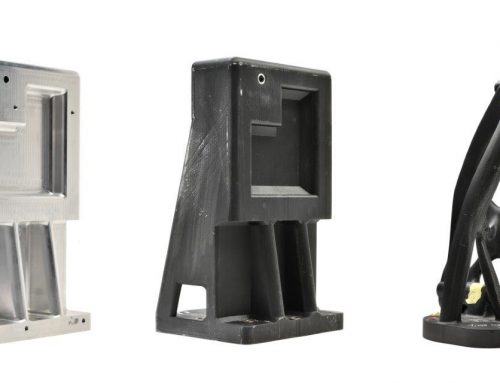
Metal 3D printing process in 3 steps
A detailed look at the entire metal 3D printing process from design to functional metal part.
Metal 3D printing opens up a whole new world of manufacturing possibilities for technology and industry. It eliminates the need for lengthy tool production, drastically reducing the cost per part and offering geometric freedom through additive processes. Furthermore, metal 3D printing enables automation because printers can automatically produce parts from design files.
Leading manufacturers are already using this technology to quickly create prototypes of 3D printed metal parts or to print spare parts if required.
But how does it all work? We asked application engineer Tripp Burd to walk us through the entire Metal 3D printing process of Markforged by looking at everything from design to functional metal part.
The three main steps in the metal 3D printing process are printing, washing, and sintering. Each step has unique areas where metal 3D printing differs from traditional manufacturing.
Step 1: Print
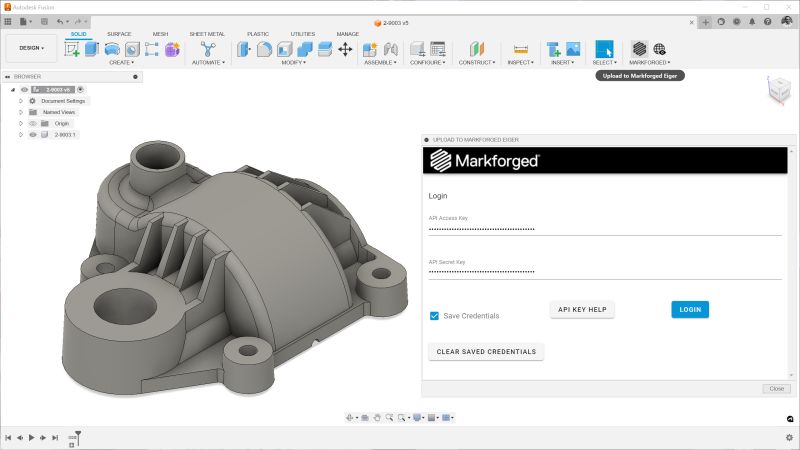
Every 3D printed part starts in the CAD program, where you design your part. Then you export to STL and load it into Eiger Eiger is a cloud-based slicing and print management system that comes with every Markforged product. Eiger automatically configures your part based on the material and printer you're using for the job.
When Eiger slices your part, it is scaled up to account for shrinkage and deformation in downstream processes. Eiger then divides your part into individual layers, identifies overhanging elements, and builds supports and a raft beneath your part.
Eiger also monitors the progress of the metal part at every stage of the process. After the print has been prepared with printing software, it is time to move on to the metal 3D printer itself, the Metal X, to move on.
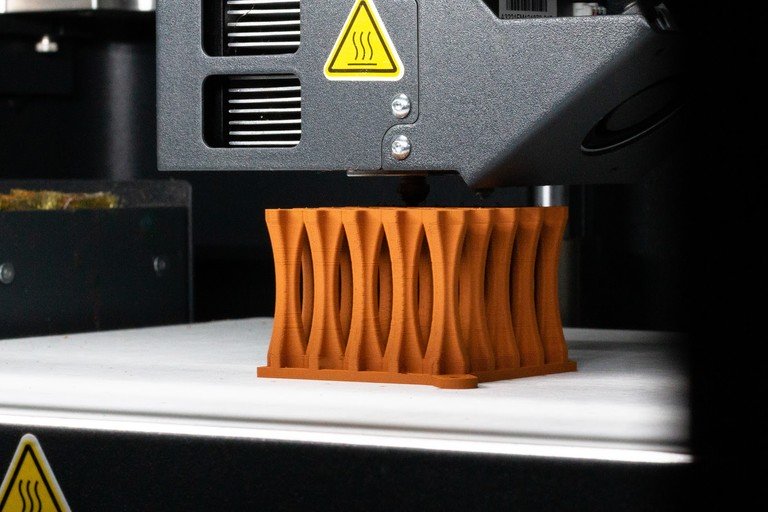
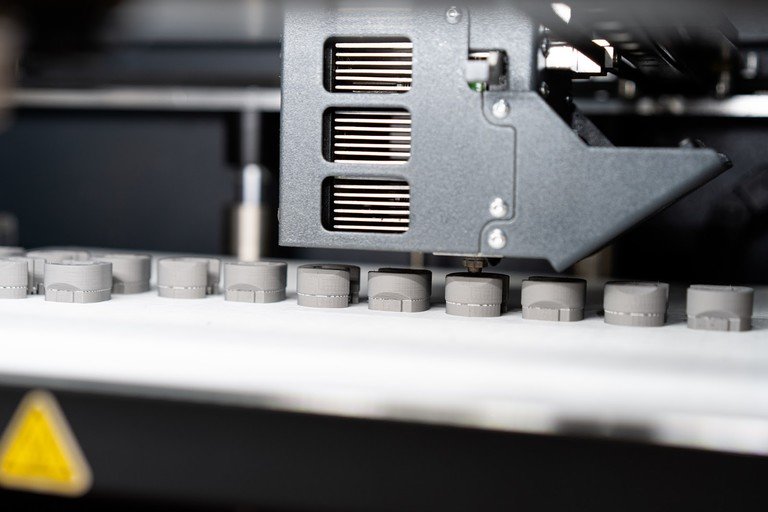
Before starting a print, the Metal X automatically maps and levels the print bed using a unique nozzle landing process. This ensures that the first layer is printed correctly. The print is created from two materials stored in the heated chamber above the printer. The first is the metal, and the second is a ceramic release agent. This filament material is metal powder safely suspended in a two-part plastic binder. The filament is heated and extruded onto the build plate, where the part is built layer by layer. The release agent is extruded as an interface between the part and the support, making it easy to remove once your part comes out of the oven.
Unlike other metal 3D printing systems, the Metal X process does not use loose metal powder, resulting in a safer and more cost-effective workflow.
The Markforged Metal X system is capable of printing in stainless steel 17-4 PH, H13, A2 and D2 tool steel, copper, and Inconel 625, along with various other materials currently under development. You can easily switch between the required Materials by simply replacing the coil.
Once your part is finished printing, the printer will notify you via email. At that point, you can go to the printer, remove the part from the print paper, and clear the print bed.
At this point, the printed part is a green compact. In the next step, it is placed in the wash for the debinding process.
Request a DEMO component now!
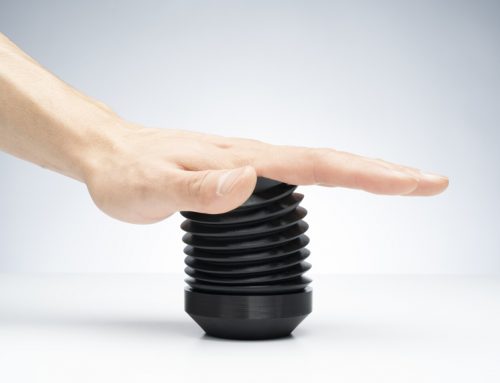
See for yourself how strong the continuous fibers are.

Step 2: Washing
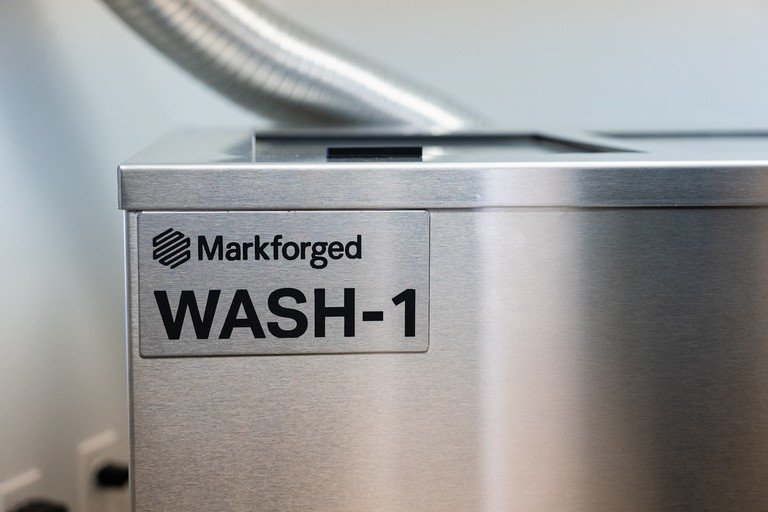
During the wash process, the Markforged Wash-1 removes the first stage of the binding material. The green sheet is removed from the printer and placed in the wash basket, which is then immersed in the solvent.
Washing times during this phase vary from a few hours to a few days, depending on the thickest part of your part. After washing is complete, you'll have a brown part. We then proceed to the sintering process.
Step 3: Sintering
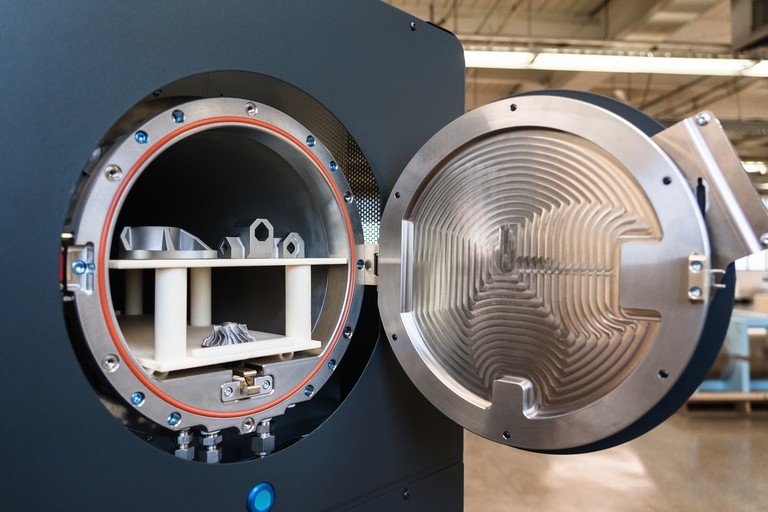
Sintering transforms a brown part into a solid metal part. The temperature is slowly increased to burn away any remaining binding material. As the temperature approaches the melting point of the material, the metal particles fuse together to form a solid metal part.
The Markforged Sinter-2 is a furnace designed for medium production volumes and larger printed parts. The Sinter-2 and other Markforged sintering furnaces utilize a carbon-free retort to ensure part quality and alloy composition standards are met for finished parts.
Each run takes approximately one day and can be remotely monitored using Eiger software. Once a run is complete, the loading table containing the finished metal parts can be removed from the furnace. Once removed from the furnace, these parts are ready for use.
In the oven, the layer of printed release material between the support, raft, and your printed part turns into powder. This allows the part to be adhered to the plate for better control of shrinkage and accuracy throughout the process, but also allows for easy removal after sintering.
At this stage, your part is fully sintered and ready for use. It can be post-machined, polished, or otherwise finished as required for the final application. For many applications, the accuracy and strength of the part after this process are sufficient for its use.
This process demonstrates how metal 3D printing offers a safe and cost-effective method of additive metal manufacturing. These processes are already driving innovation in lean manufacturing.
This is manufacturing redefined!
Learn more about metal printing applications!
What applications is the Metal X suitable for? How do I design correctly for metal 3D printing? What do users say about it, and where can I find more information? – You've come to the right place! We've listed several information sources that will help you get the answers you need.


Hinterlasse einen Kommentar