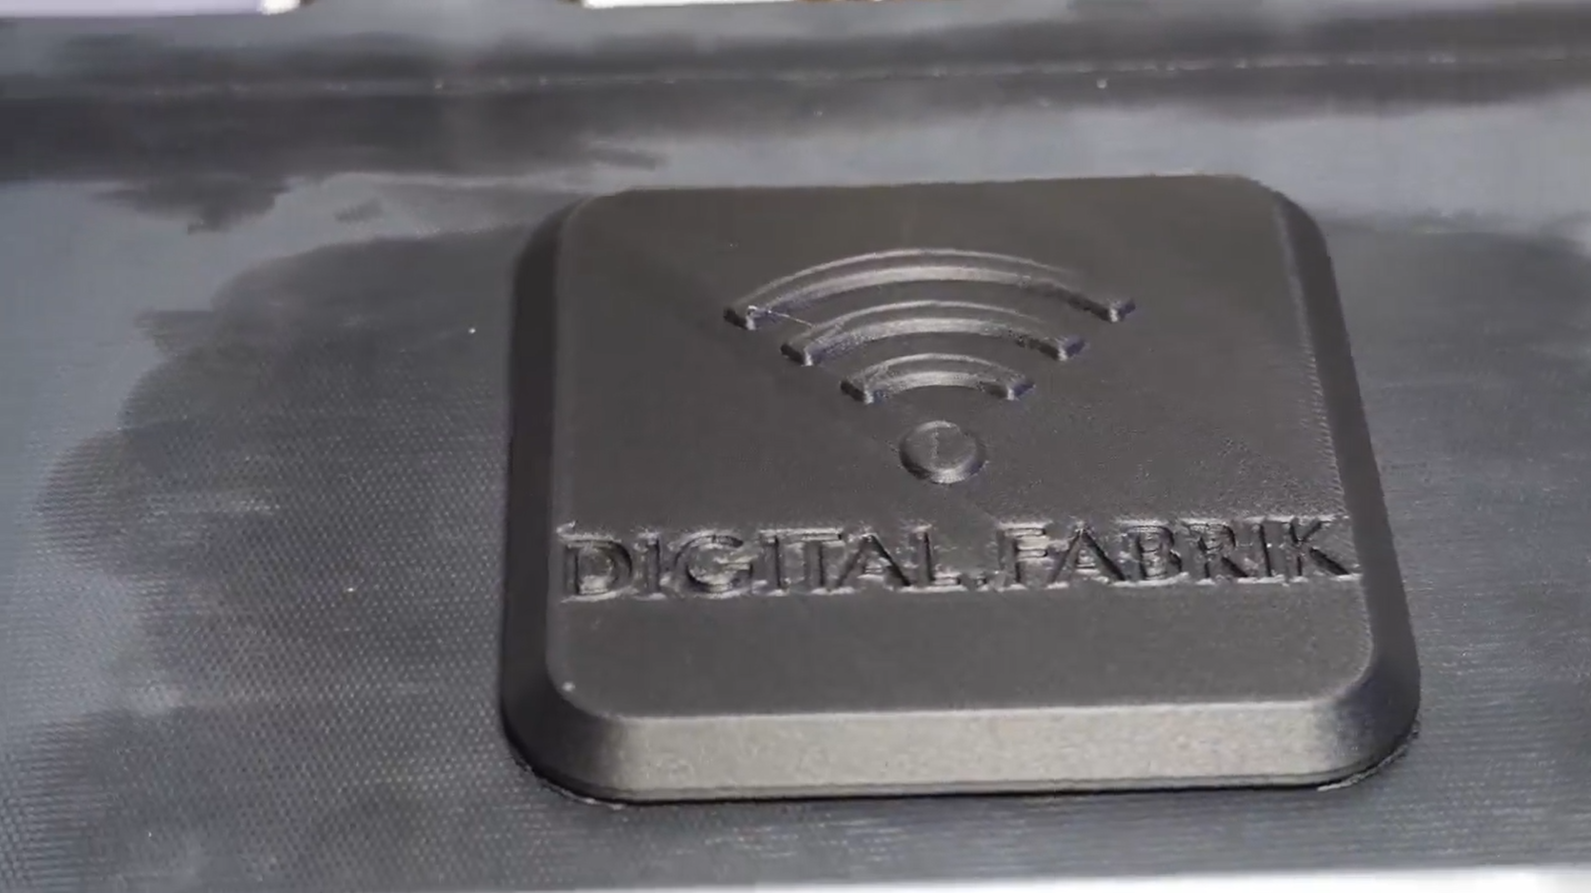
3D printed soft clamping jaws for aluminum components
By day, Rob works as a mechanical designer in a machine shop specializing in industrial conveyor chutes and processing equipment. He designs in Inventor and CAM in HSM 2016.
By night, Rob makes parts for RC cars, which he has sold online for the past eight years. Recently, more and more manufacturers and product designers have been approaching Rob for prototyping services. He decided to start his own business by purchasing some machines and setting up a Facebook page for Superstition Machine Works.
First machine – a self-built CNC
The first machine in the workshop was a home-built CNC. Rob converted a Grizzly G0704 drill/milling machine into a CNC.

"Basically, I threw away everything except the cast iron and built the device from scratch. Motion control is provided by stepper motors and double-nut ball screws that I designed myself.
The side-mounted router was recently added and features an auxiliary spindle capable of up to 27,000 rpm. It was used to cut .020" wide and .030" deep slots in 6061 aluminum.
Currently on the table is my self-made quick-change fixture system.
When I started the conversion, I had never used anything better than a drill press and am completely self-taught in CAD, CAM, machining, and CNC machine design and use in general.”
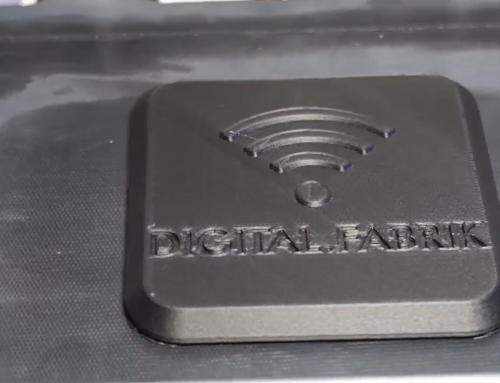
Second machine – a Markforged 3D printer
Rob decided to buy a Mark One specifically for making jigs and fixtures for producing high-quality RC car parts after seeing it a few times online.
"I had never seen a 3D printer before I bought this one. I saw an ad on a machining forum, looked at it, and moved on. Eight months later, I saw it again on Modern Machine Shop, read the article, and decided it might actually exist.
"Currently, my CNC doesn't have a tool changer. I built it from a manual CNC. It's quite maintenance-intensive. So I print things out to save hours of machining."

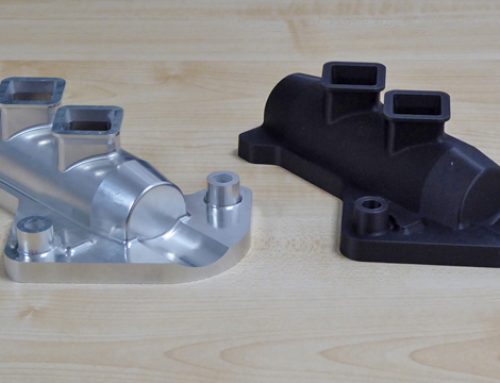
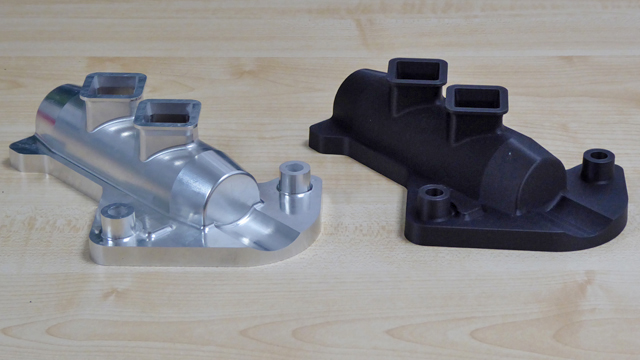
3D-printed honeycomb panels and rod ends
Rob began manufacturing other parts, including a carbon fiber key chain, some fiberglass honeycomb panels, and an impressive set of rod ends. The soft jaws were the first part Rob printed.
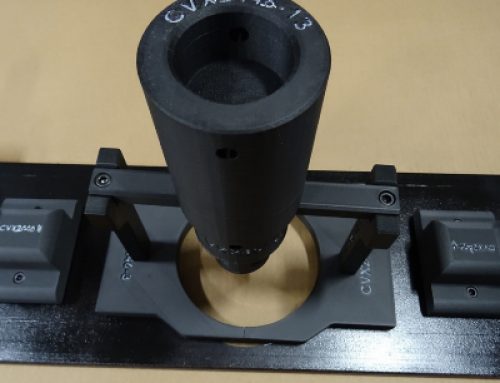
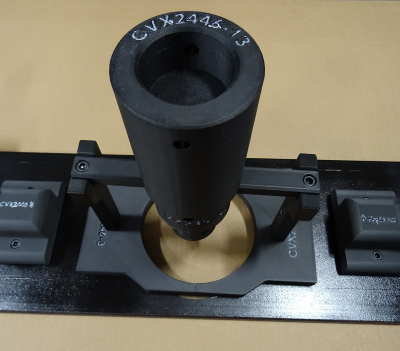
The soft jaw is screwed onto the vise and replaces an old metal clamping system. The images of the soft jaws recently completed a production run of 32 parts for a prototype light housing. The jaw was manufactured to drill the holes for the LED wires leading out of the housing.

… “it worked perfectly”
The jaws worked well. Rob says:
"Not only does it look good, it also works perfectly. All 32 parts were replaced without any problems, and the last part fit just as well as the first."

Learn more about 3D printing with continuous fibers!
Which continuous filament is suitable for which application? How do I design correctly for filament 3D printing? What do users say about it, and where can I find more information? – You've come to the right place! We've listed several information sources that will help you get the answers you need.

