Mark3D UK is expanding – new office

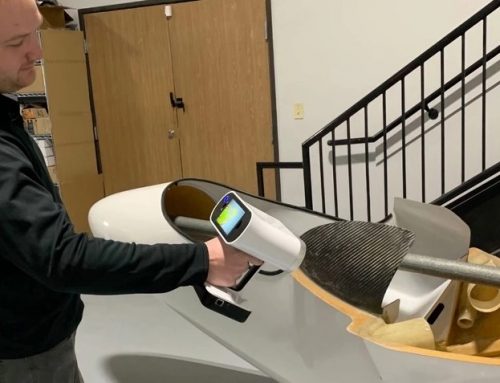
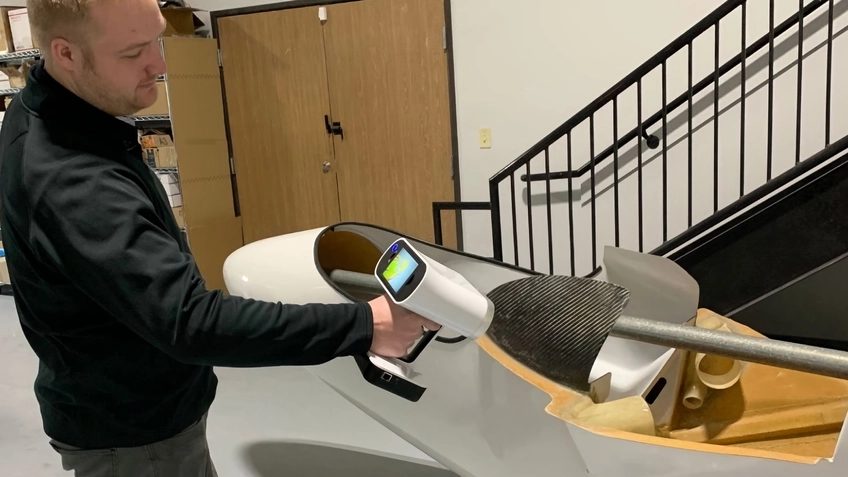
The team has spent the last few weeks moving into a new, purpose-built facility to fully showcase and support Markforged Digital Forge.
We now have a new, larger demonstration area for the ever-growing range of machines with many samples of customer applications. We also have much more material in stock – printers, materials and supplies – so we can continue to support you with your printing needs.
We haven’t moved far, so those who stop by to pick up their supplies won’t be put off, but anyone can stop by anytime they are in the area and have a coffee.
The M5 is easily accessible from junction 3 (Halesowen) or junction 4 (Bromsgrove / Stourbridge) and we would be delighted to have you visit.
The new address is:
Mark3D UK Limited
Farley Lane
Romsley
Halesowen
B62 0LG
Our new phone number is 0121 661 1151 and we can also be reached on 0800 193 3650, everything else remains the same.
Thank you for your support over the years, everyone here really appreciates it.


Test the Eiger software now!
Request a DEMO component now!
Learn more about the applications with the MarkTwo!
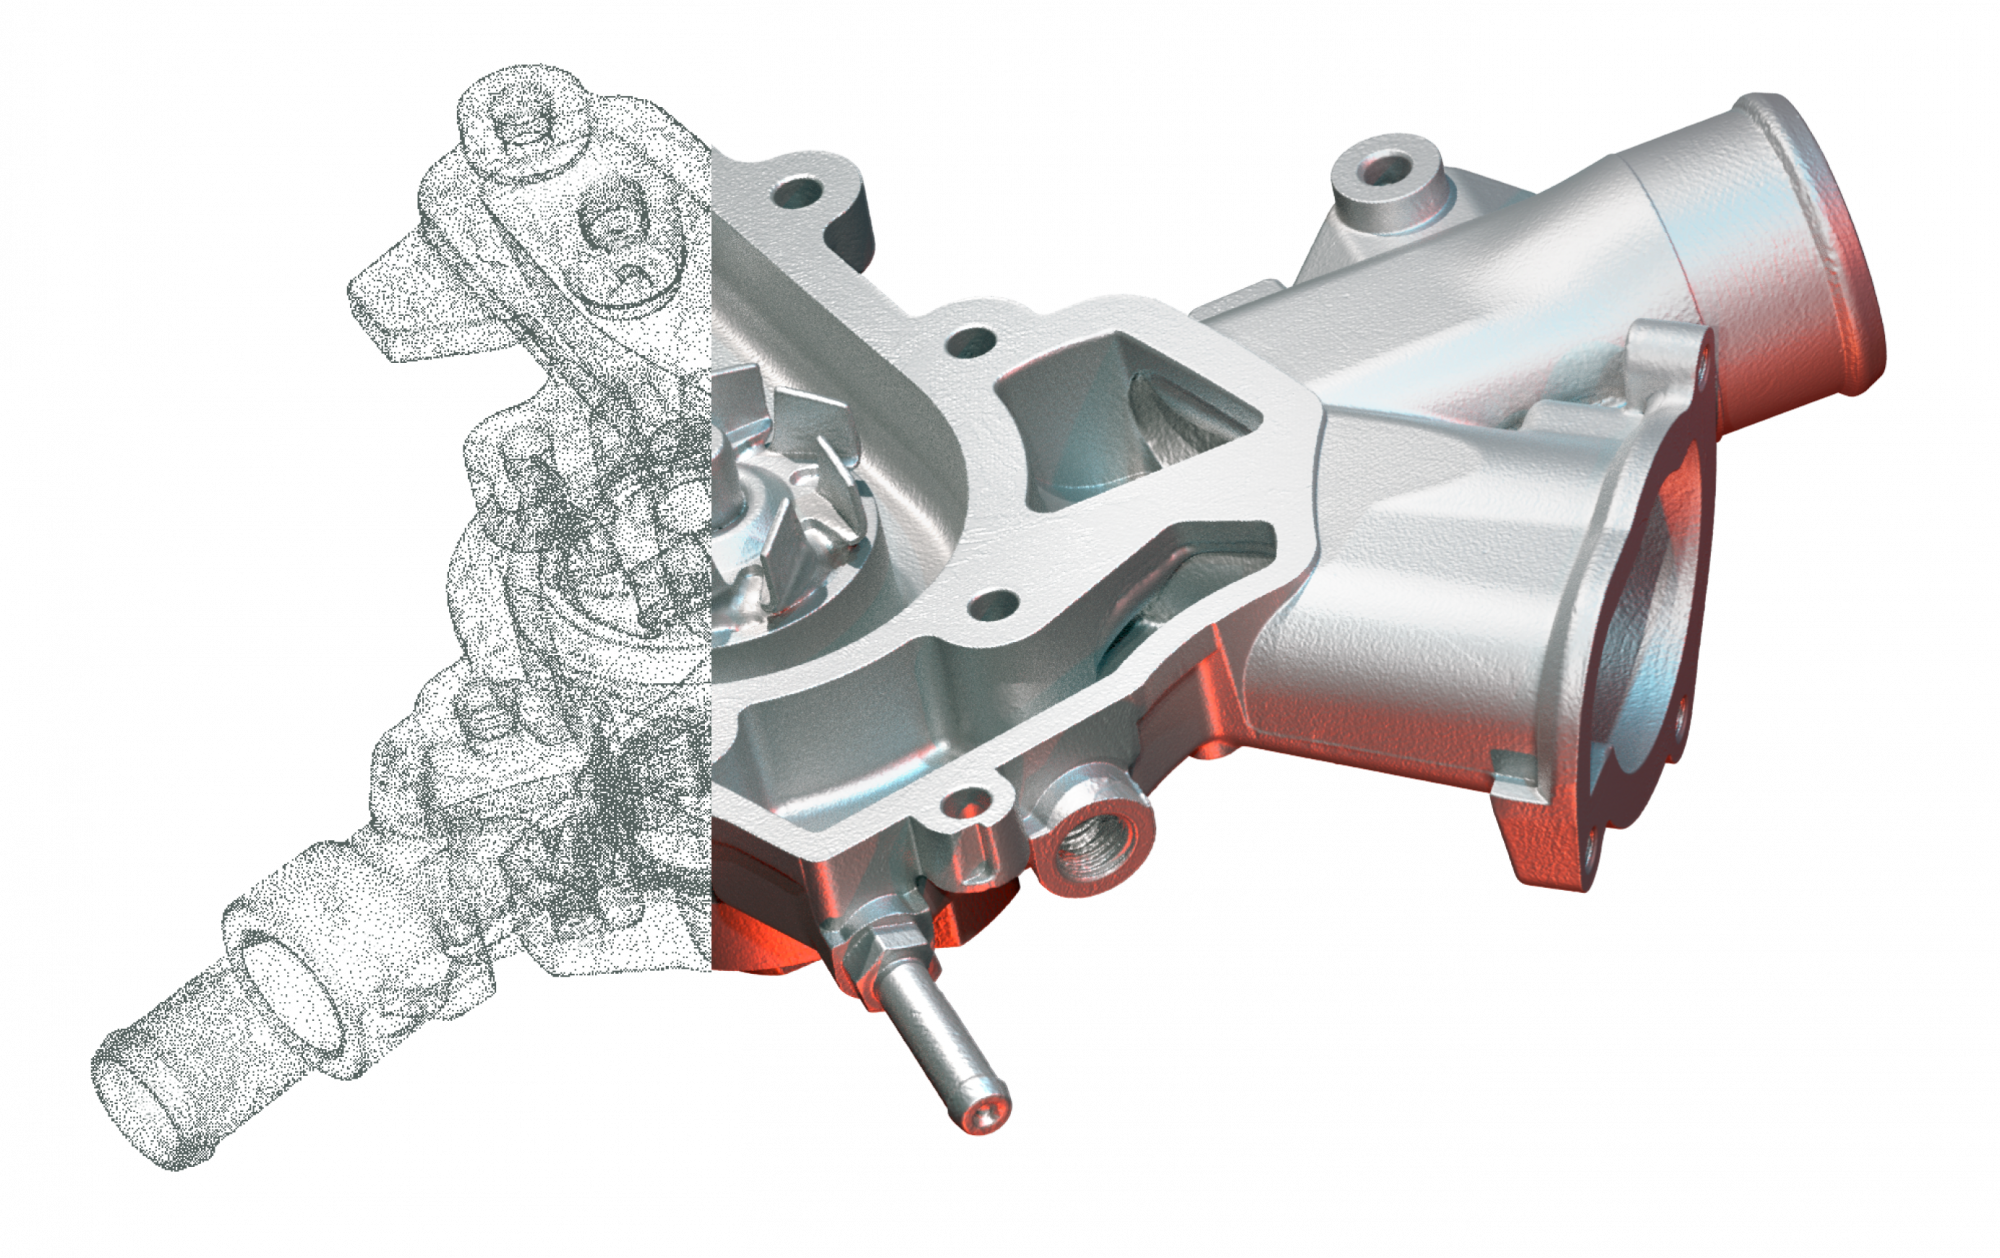
Which continuous fibers are suitable for which applications? How do I properly design for filament 3D printing? What do users say about this and where can I find more information? – You are right here! We have listed some information options that will take you straight to the right answers.

Construction Guide
This guide is intended to help you come up with ideas for better design results for your components. Specially designed for generative manufacturing processes.
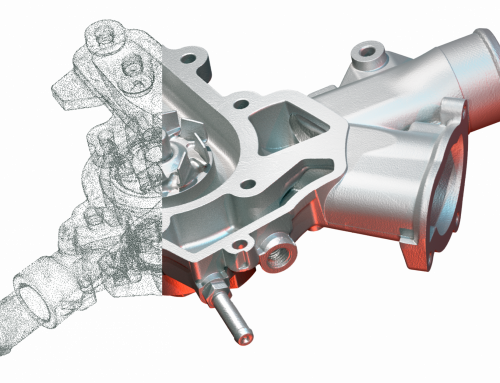
Stronger than aluminum
For years, a compromise between strength, delivery time and cost had to be accepted. This can now easily be avoided!

Webinar
Find out which material works for which application and how you can insert it individually into the component with EIGER.

Leave A Comment