Update: If you are interested in learning more about how different fills can strengthen your part in various ways and the science behind it, join us on June 21 at 11am EDT for a webinar (Register here)!
Writer’s Note: This is the first of a two part post about using Eiger’s Isotropic Fiber fill pattern to make extremely strong parts with a Mark Two. In this post, we’re going to review how to approximate the high strength lay-up patterns of traditional composites with a Markforged printer. In the follow-up post, we’ll tackle how to use these strategies for maximum strength in your reinforced parts. We’re going to get a bit more technical in this post than we typically do in our blog, but we’ll take it slow through the terminology (we’ve included a short Composites Terminology Glossary), and we think you’ll appreciate a more in-depth understanding about how to design effectively for composite-reinforced, high strength 3D printing.
A Composites Background
Markforged’s continuous strand composite 3D printers enable our customers to create industrial strength 3D printed parts, reinforced with composite fibers to produce properties similar to quasi-isotropic composite laminates, in a highly automated 3D printing system. Quasi-isotropic 3D printed parts have varying material characteristics along different axes, and by varying the fiber orientation in our Eiger slicing software, you can design strong parts to resist specific loading applications to which the part may be exposed.
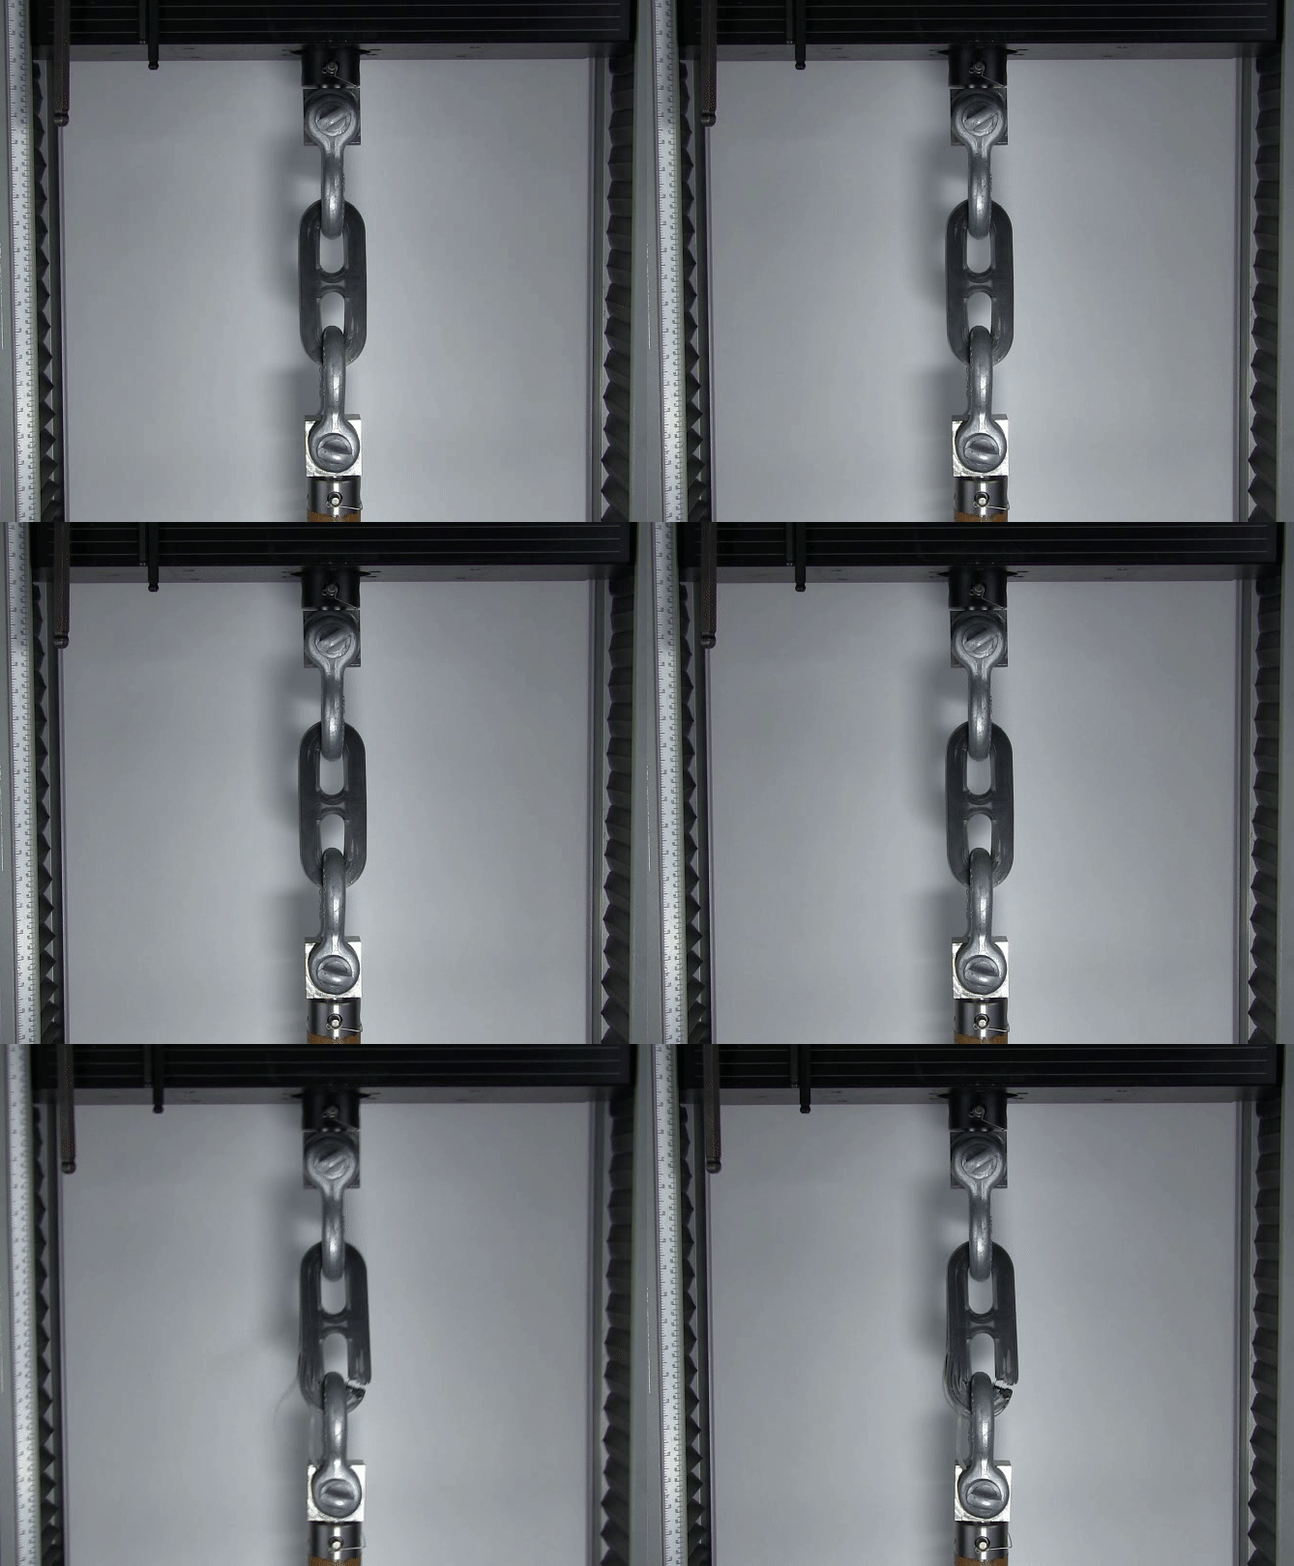
A carbon fiber-reinforced chain link, finally failing at over 22,000 pounds of force
High strength isotropic material* properties make engineering part design easy – if a material has the same properties in all directions, then making a part that is strong enough for an intended application is nothing more than a matter of geometry. In the case that material properties will differ across different axes (as is the case in 3D printing), a quasi-isotropic* material is the next best option, since there is a strength difference along only one axis that must be taken into account and it will require much less time and design work to optimize for part strength than with a completely anisotropic* material. See the common terminology for composite material property orientation below for a deeper discussion of variations in material properties. Note that for convenience, and with the understanding that all 3D printed parts will have differing material properties in the Z direction (the axis normal to the printbed plane), Markforged has dropped the ‘quasi-‘ from quasi-isotropic in describing our ‘Isotropic Fiber’ fill type.
*Composite Terminology Glossary
- Isotropic materials — have uniform material properties in all directions, regardless of material or observation orientation. Most (but not all) metals tend to have highly isotropic properties.
- Anisotropy — an overall state of having directionally dependent properties. A material characterized as anisotropic doesn’t demonstrate the property of being isotropic, but such a general classification doesn’t offer any information on how or along what axes the material is directionally dependent. The living hinge part we demonstrated previously is a great example, since it contains flexural elements, as well as stiffer, Kevlar-reinforced regions.
- Orthotropic materials — such as wood, demonstrate properties which differ along three mutually-orthogonal (at 90 degree angles to each other) axes. Wood offers a good example because it has a tendency to split easily along grain lines, but is difficult to cut or split in other directions.
- Quasi-isotropic materials — often approximate or are isotropic materials in two axes, but have differing properties in a third direction. This is an accurate general description of Markforged 3D printed parts which include the ‘Isotropic Fiber’ reinforcement pattern, mostly without regard to the values used in the ‘Fiber Angles’ property described below.
- Transverse isotropic materials — are a subset of quasi-isotropic materials, and refer specifically to materials in which isotropy occurs in the transverse plane of a part (think uniform properties in each layer — the XY plane — of a 3D printed part), with differing material properties along a single axis (the Z axis in a 3D printed part). With a Markforged 3D printer, this is very closely approximated while using the Isotropic Fiber fill pattern and the default ‘Fiber Angles’ values described below.
Traditional thermoset composites (most consumer uses of carbon fiber employ this type of composite) are made from dozens to thousands of stacked layers of unidirectional composite material (often in the form of woven cloth or unidirectional tape) oriented in a pattern of different directions; composite designers employ a nomenclature structure in the form of an ‘orientation code’ to provide a simplified way of describing these repeating patterns. Each successive layer is generally rotated by some angle (often 45 degrees) relative to the layer below, and since the composite fibers making up the woven cloth in each layer are strongest in their tensile direction, rotating the cloth each layer produces a part with a much higher multi-directional bulk strength and stiffness than if the cloth had been laid up in the same direction on each layer.
Example carbon fiber layup composition – note the different angular fiber orientations in each layer (source: Carbon Fiber Gear)
A great primer on composite orientation codes can be found in this presentation from the US Naval Academy. A traditional orientation code is described by a series of angles bookended by square brackets and separated by forward slashes, to denote the various angles used in a particular composite layup strategy. For example, Eiger’s default Isotropic Fiber fill pattern uses an orientation code of
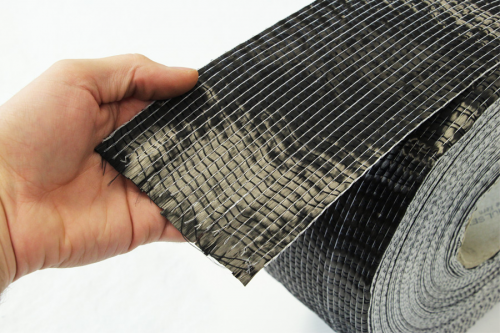
Unidirectional carbon fiber tape (as opposed to woven carbon fiber) produces the highest strength single direction composites (source: Easy Composites)
Improved Capabilities
The Mark Two 3D printer was designed to robustly produce high strength fiber-reinforced parts with 15x smaller geometries than the Mark One, but our upgraded software algorithms also give it significantly improved capabilities to create reinforced parts with high strength quasi-isotropic properties using our ‘Isotropic Fiber’ fill type.
Carbon fiber Isotropic fill is extremely robust and fully supported by the Mark Two’s precision fiber extruder
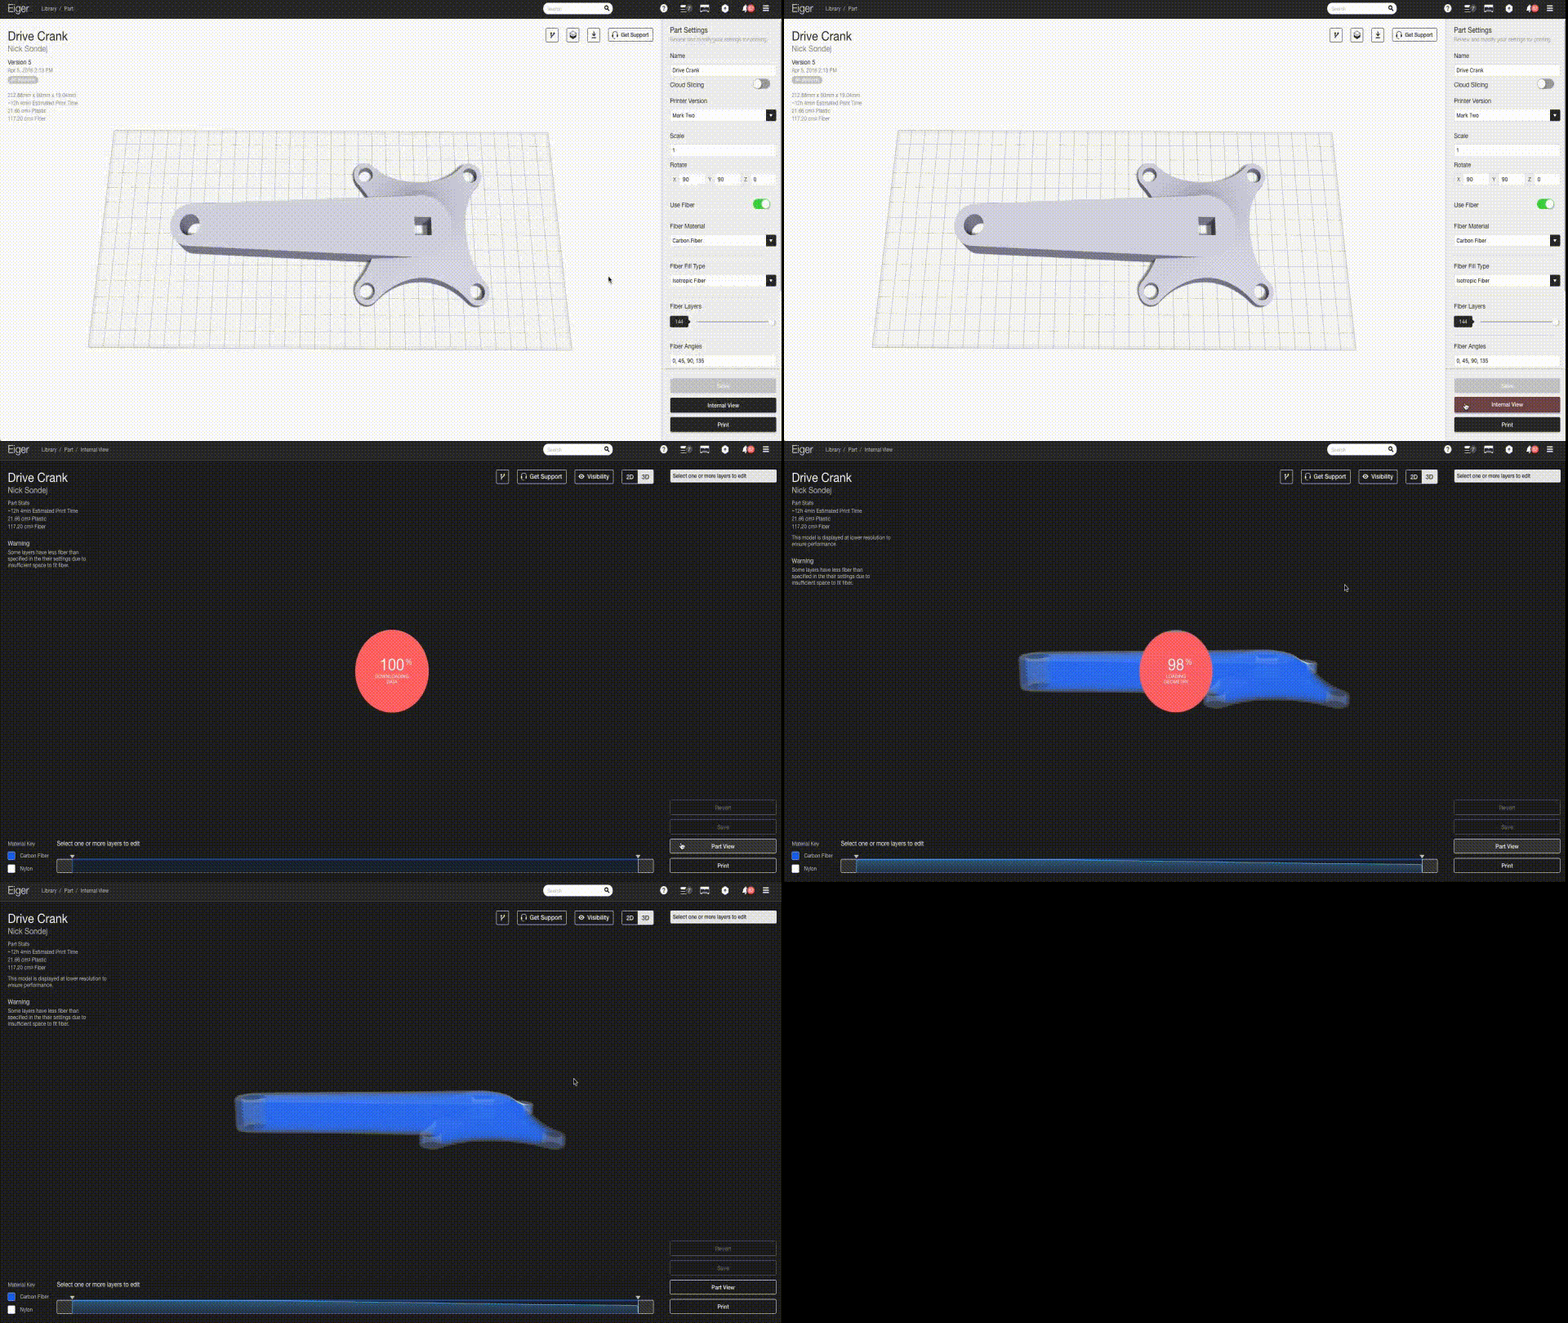
You will note in the image above, from the external ‘Part View’ fiber configuration panel in Eiger, that there is an input box for ‘Fiber Angles’. This is a representation of the orientation code mentioned above and is one way to quickly control the high-level bulk material properties of a fiber-reinforced part in Eiger. The default [0/45/90/135] code that Eiger uses will produce a transversely isotropic part (see the terminology box above) if you reinforce every layer of the part with the Isotropic Fiber fill. To input an orientation code in Eiger, simply type the angles of the various fiber orientations that you would like in your pattern into the ‘Fiber Angle’ box, separated by commas as in the image above.
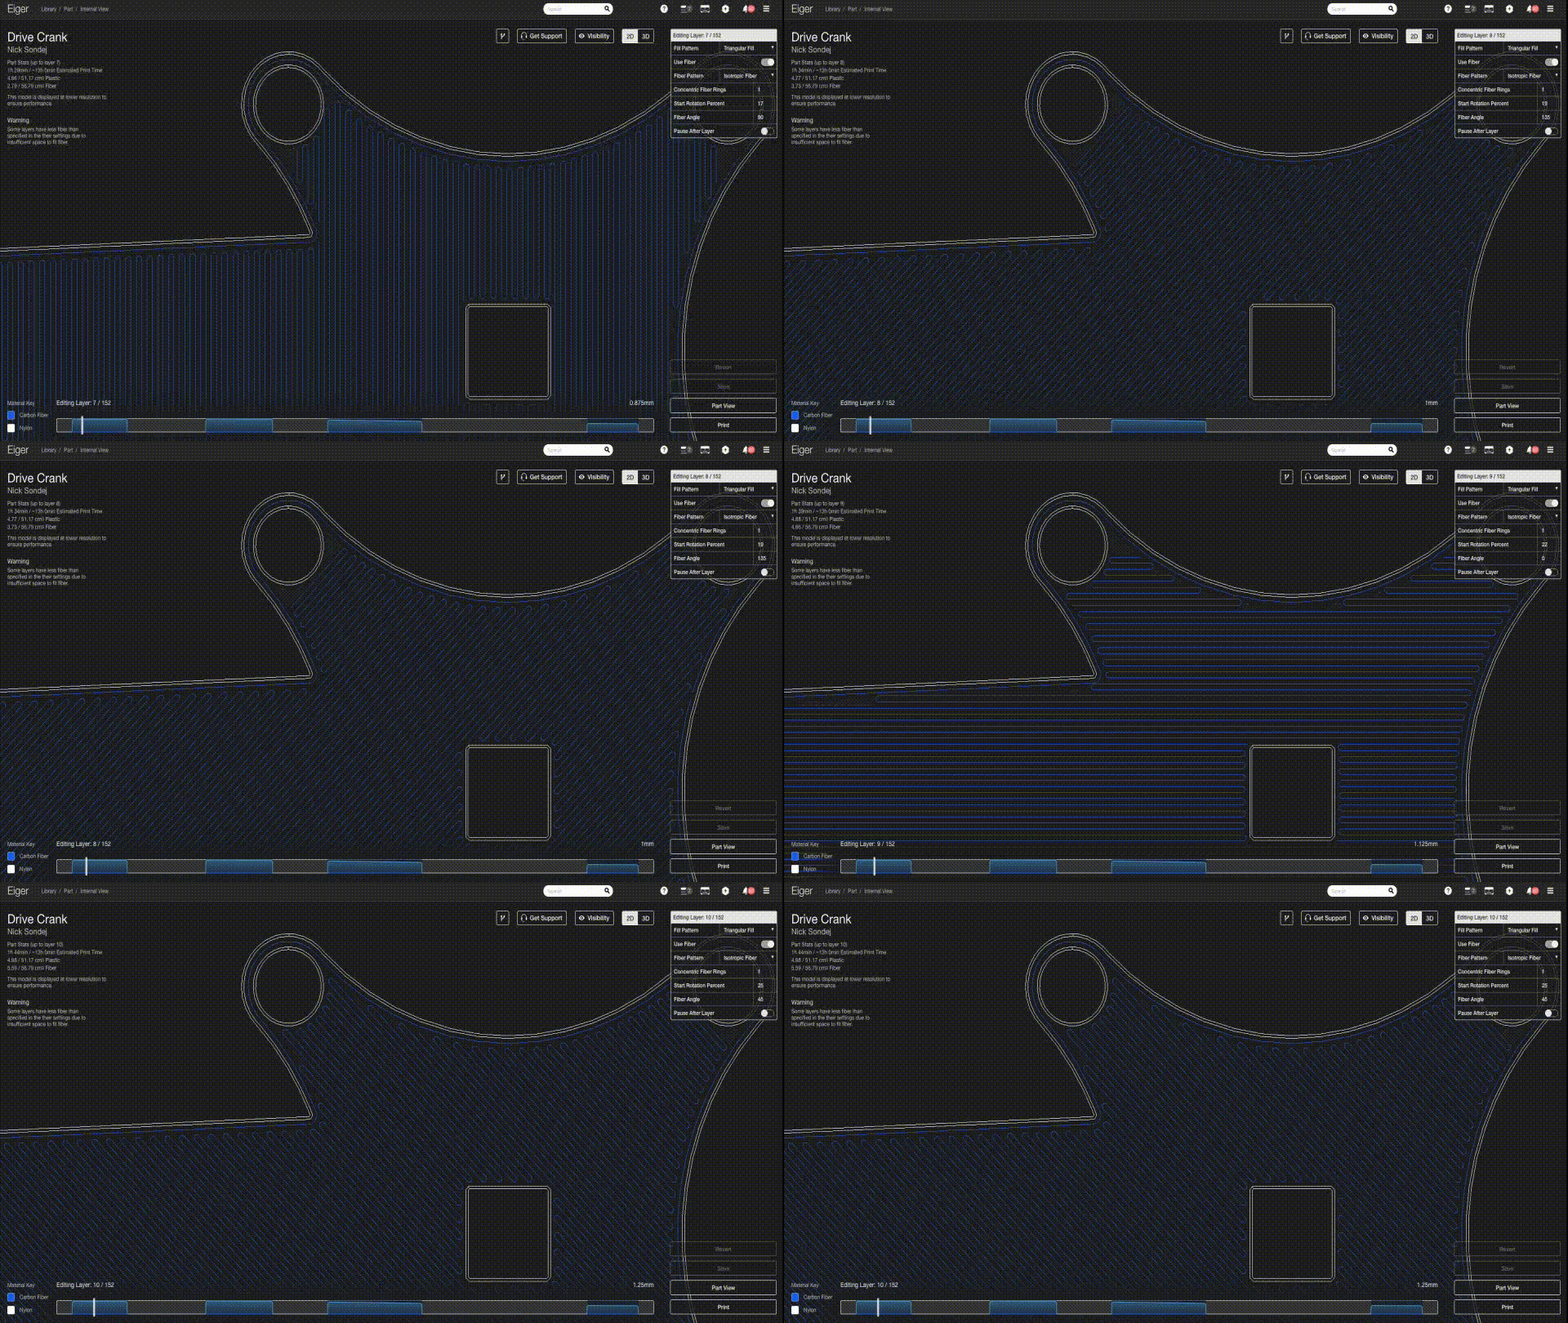
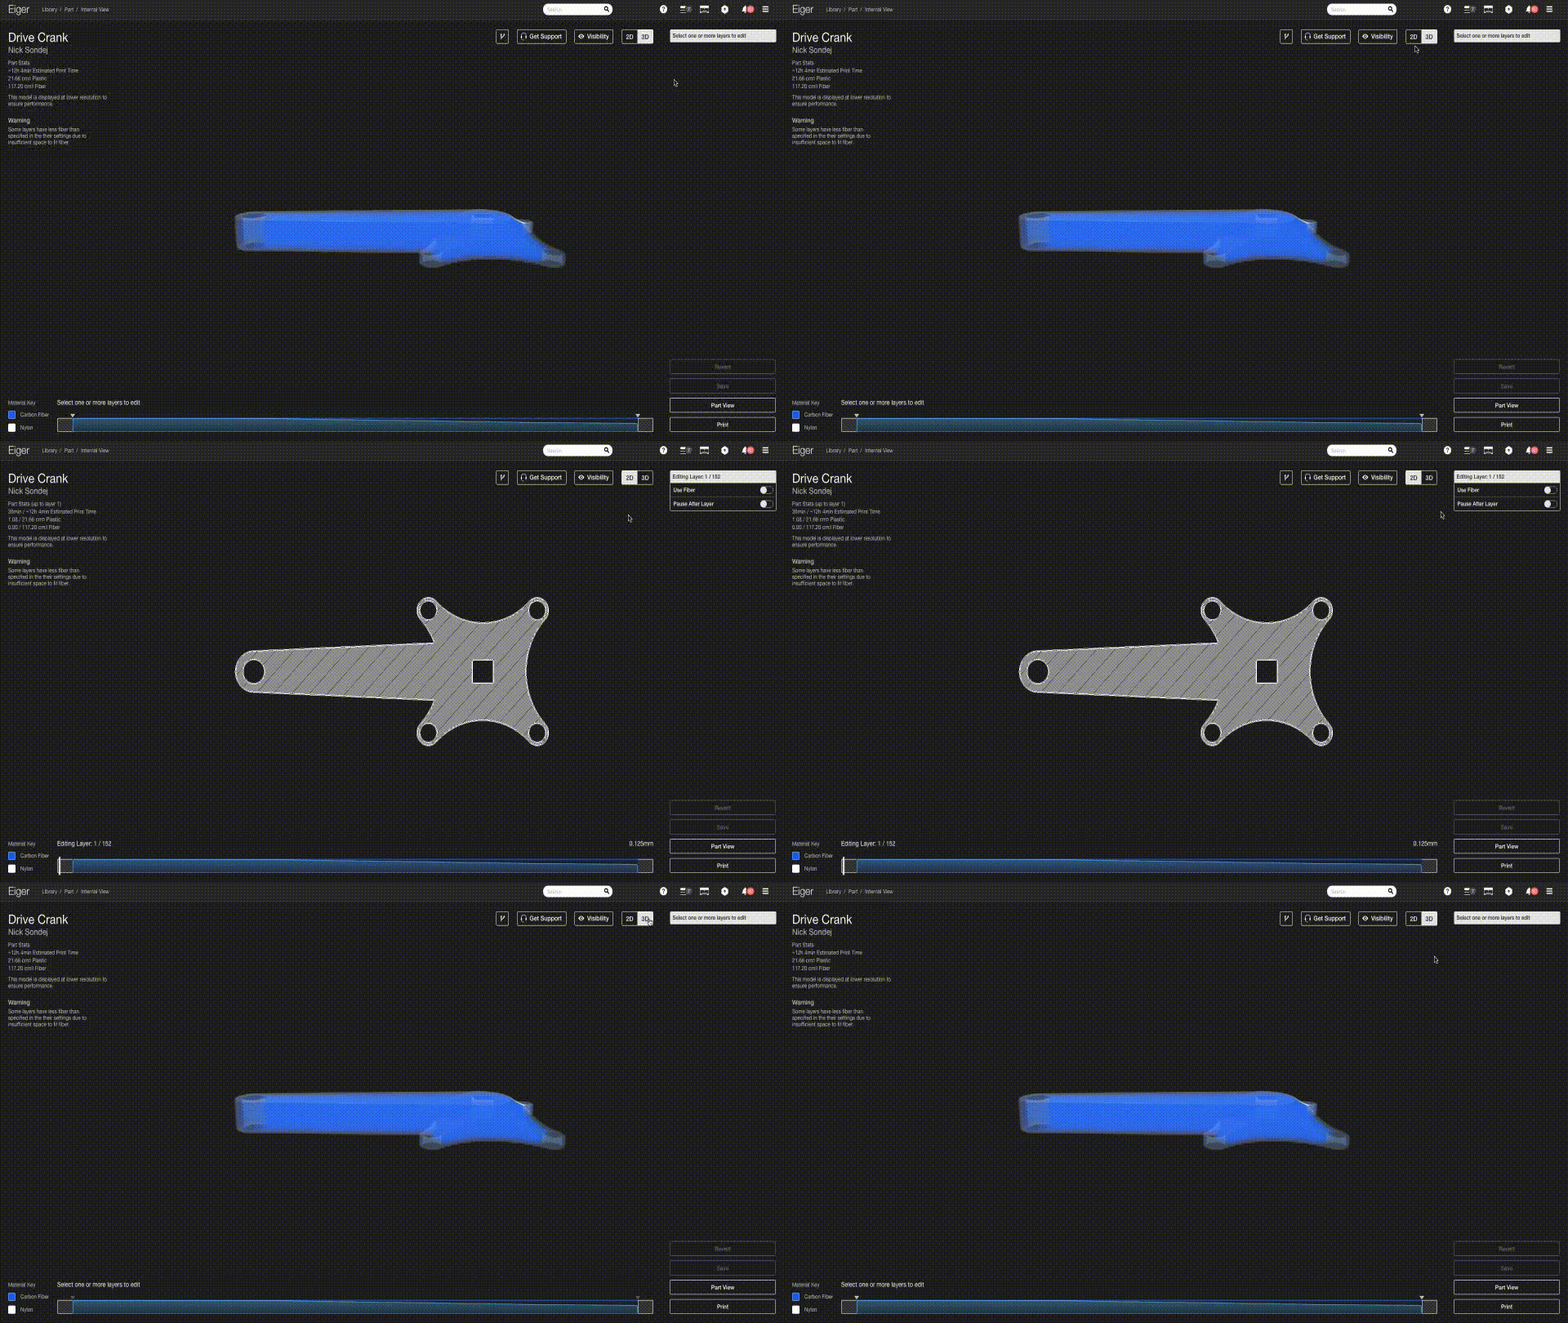
The improved fiber routing algorithms also enable the Mark Two to print Isotropic Fiber fill using Markforged carbon fiber filament as well as our new High Strength, High Temperature (HSHT) Fiberglass filament — options that were not available with the Mark One due to technical limitations. The algorithm itself has been updated from its Mark One counterpart — if you use Eiger’s 2D Internal View to view a layer with Isotropic Fiber fill sliced for the Mark Two, you will notice that the new algorithm enables a hybrid fill type, with concentric rings on the outside of the part and isotropic fill at the specified orientation angle filling in the internal area of the part. This produces a part with an improved external surface finish, while maintaining high overall strength and stiffness internally. Using this strategy, the absolute strongest parts can be achieved through carbon fiber 3D printing.
Notice as the angular fiber orientation rotates by 45 degrees every layer
Finer control for the strongest parts
The External View fiber parameters are good for fast reinforcement, but if you need more control over the strength of your parts, you can also edit the orientation codes of specific layer groups in the 3D Internal View of a part in Eiger. To start, select a part from your Eiger library, and enter the Internal View, which brings you to the 3D view by default.
Opening the internal view
Changing from 2D to 3D Internal View
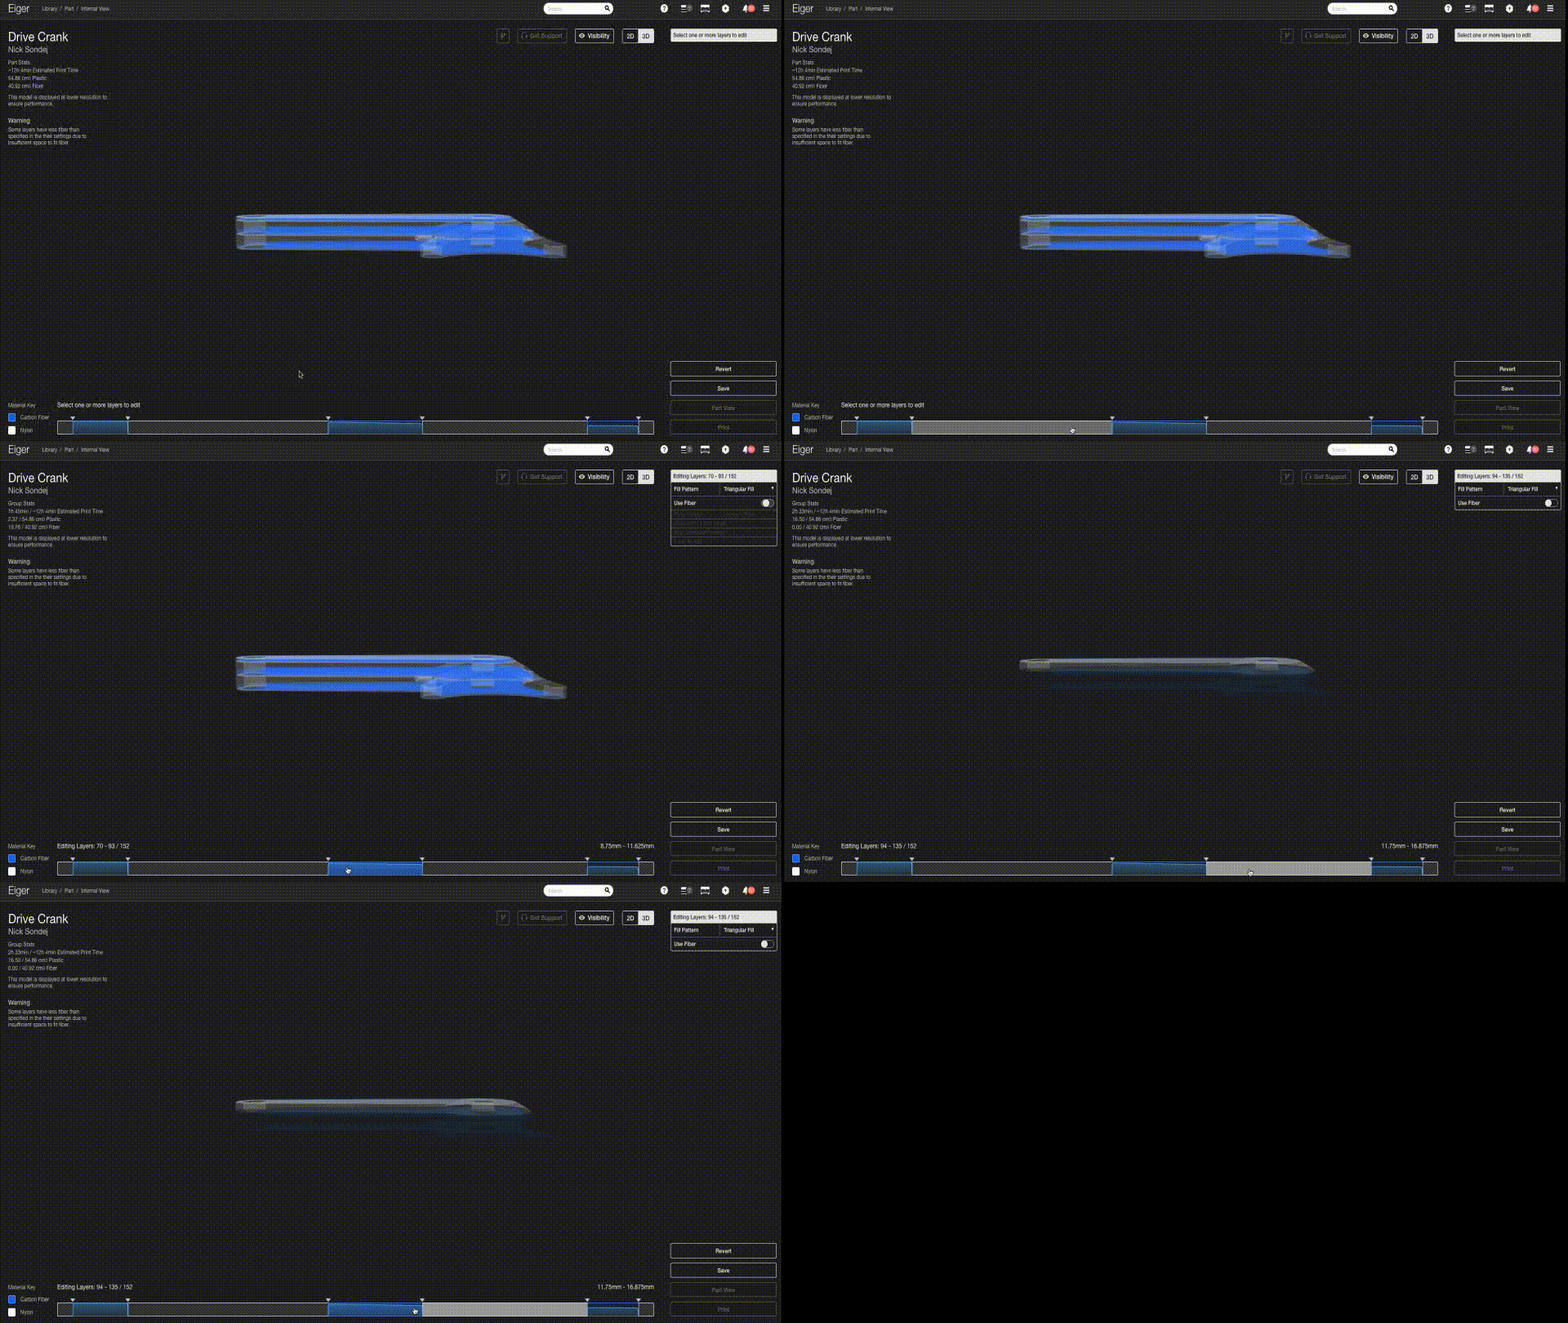
Once inside the Internal 3D View, select a pre-existing fiber layer group in the layer bar by clicking on it.
Selecting a pre-existing layer group
To create a new group, click on the layer bar at the start or end point of your desired group and hold down the mouse button while dragging across the layers you want in the group. Then simply click ‘Apply Changes’ in the upper right layer control box to create the new group.
Creating a new layer group
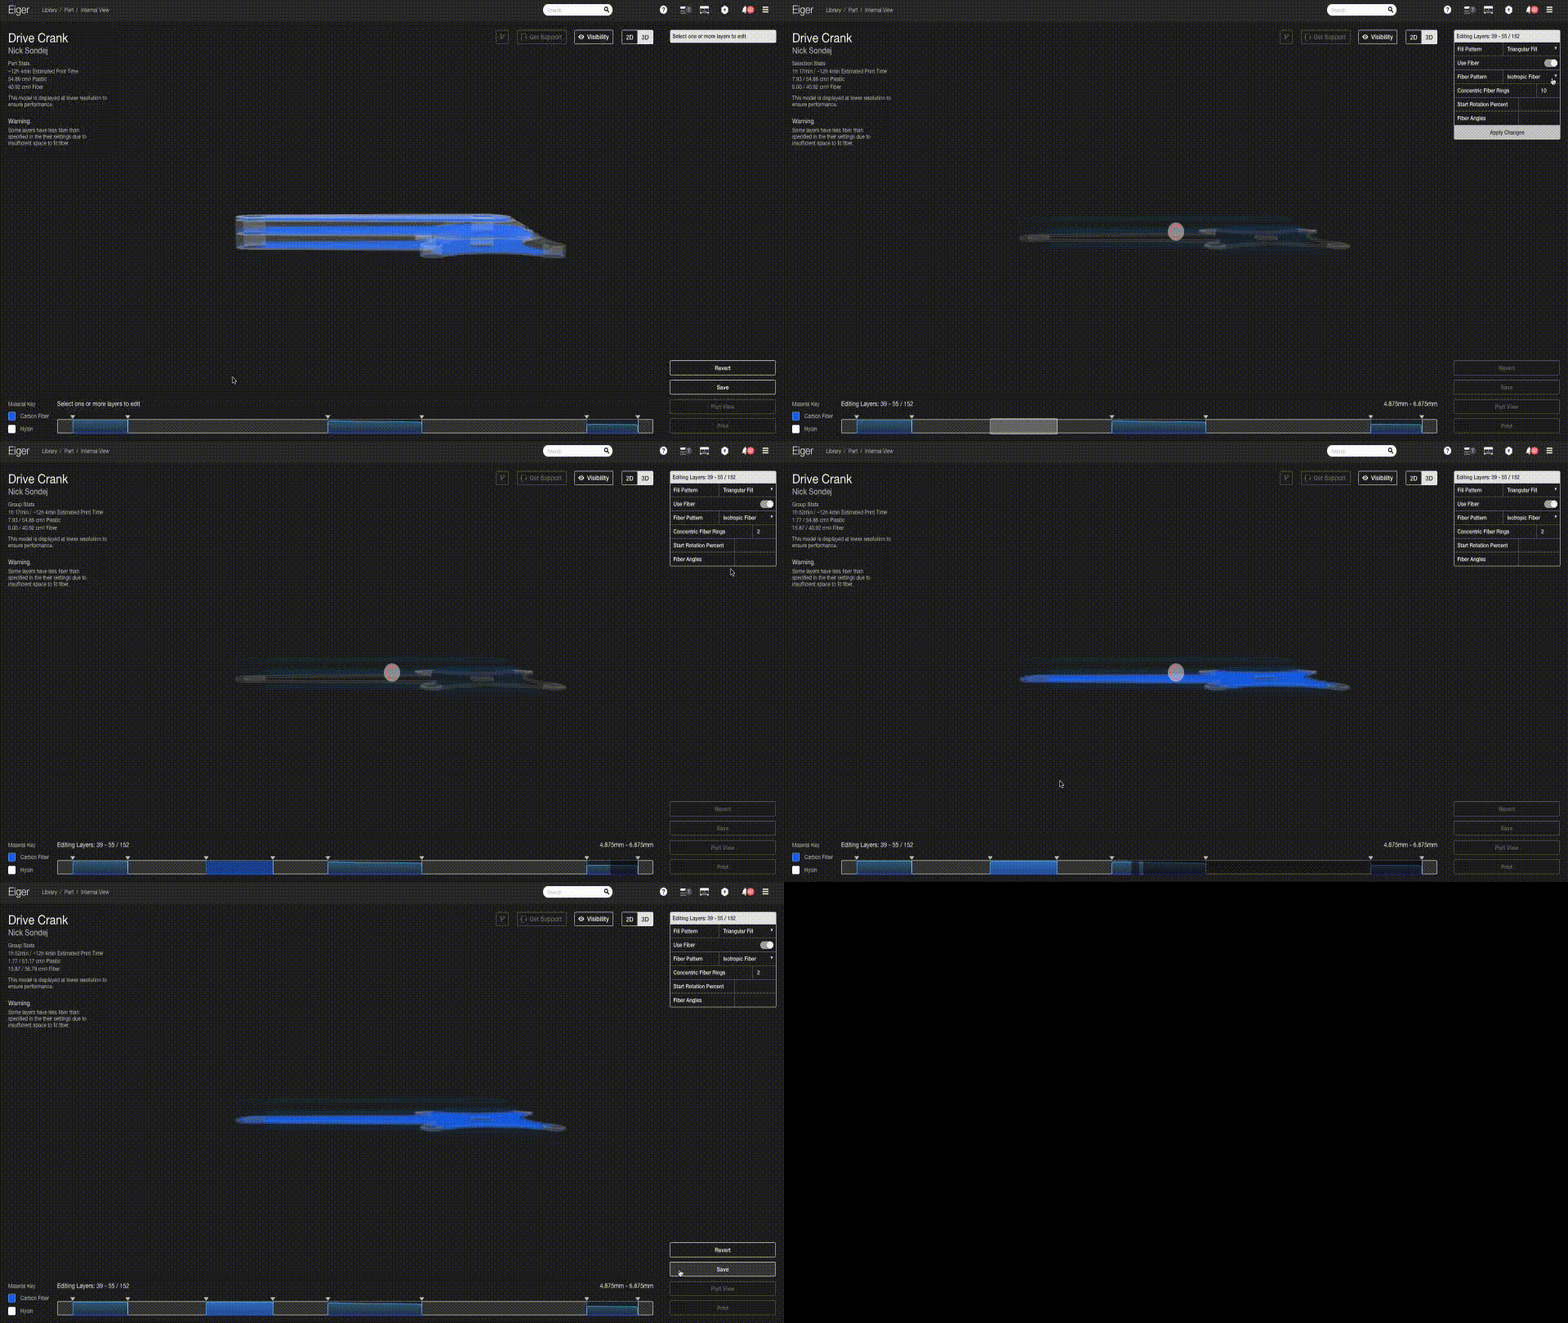
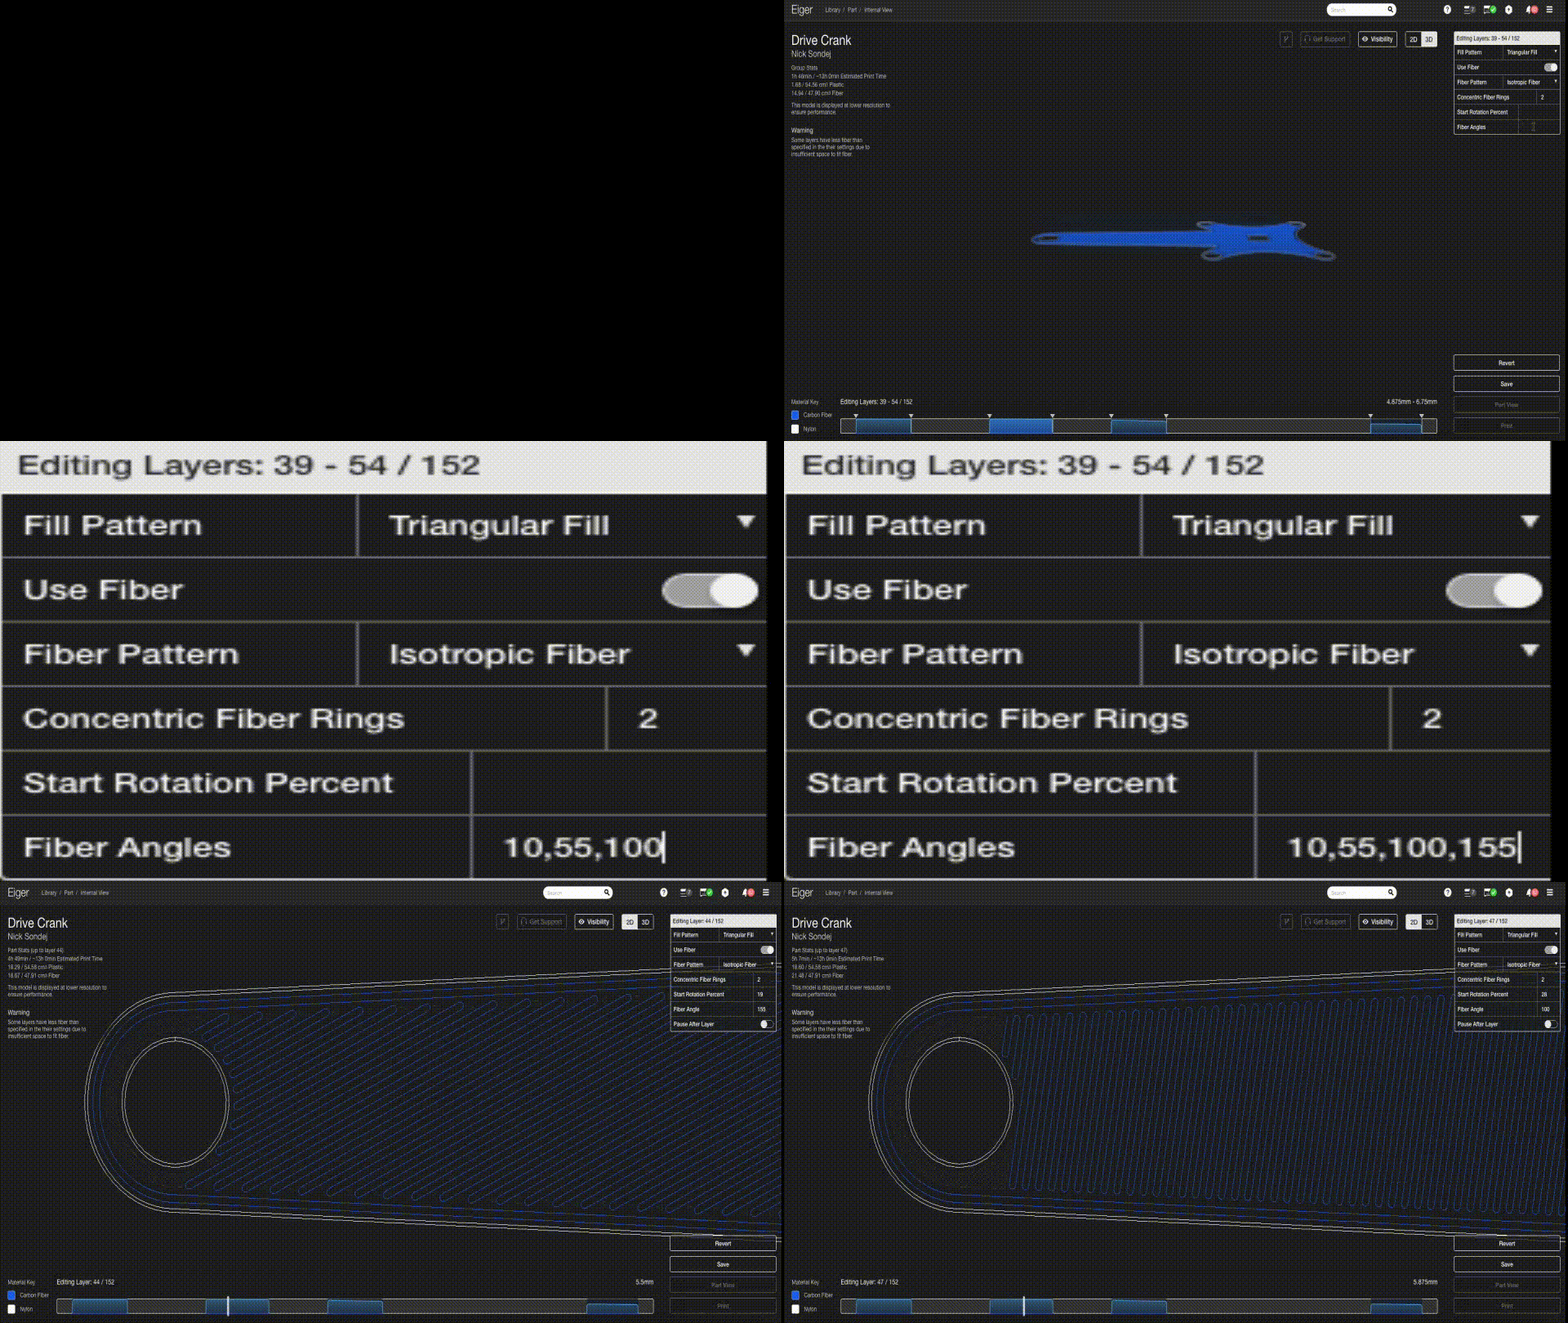
If you aren’t satisfied with the layers you chose for the group, you can always drag the triangular layer group delimiters to resize the layer. Once you’ve selected a defined layer group that is configured to use Isotropic Fiber fill, you will notice that the ‘Fiber Angles’ field seen in the external Part View is also visible in the layer control box in the upper right. This parameter allows you the same level of control over fiber orientation codes that you had in the external Part View, except that rather than applying the orientation code globally across all fiber in the entire part, the Fiber Angles field in the 3D Internal View editor will allow you to modify the orientation code for just the selected layer group alone. This gives you the control to tailor high strength fiber placement to the specific geometry of your part.
Changing the Fiber Angles in a layer
And that’s pretty much it – Eiger makes it incredibly simple to quickly configure the different layers of fiber reinforcement in a part!
Read Part 2 of this post here – we’ll walk you through the best strategies for optimizing where you should put fiber reinforcement in order to maximize part strength for most effective fiber usage!
Interested in learning more? Request a Demo of the Mark Two today!

