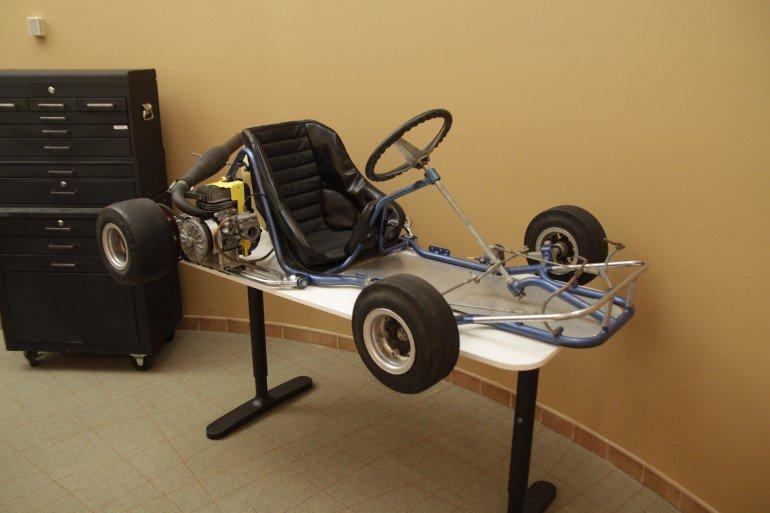
Today, we embark on a new challenge: re-imagining this go-kart in 3D printed carbon fiber. This adventure is designed to push the limits of 3D printing. From the steering wheel to the steering knuckles, we will be removing individual components from the kart, modeling them in CAD, printing them on our Mark Two 3D printers, and replacing the original component with our 3D printed version. As the go-kart sheds steel and dons nylon and carbon fiber, each new part will ultimately be tested in the only way that matters: out on the road with a full tank and the pedal to the floor.
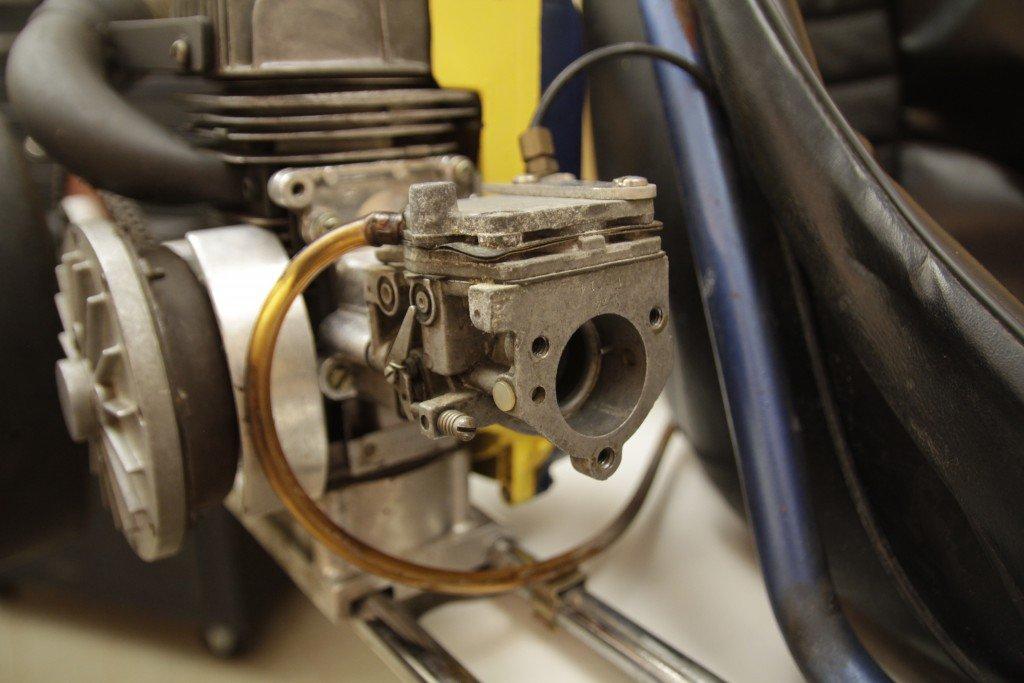
The air intake of our small two-stroke engine with a 35mm opening and three 1/4-20 threaded mounting bolt holes
The first part we are replacing is the air intake restrictor. This is a small part, but the shape of the air restrictor can dramatically change the flow of air into the engine, which in turn affects the go-kart’s performance. The primary purpose of an intake restrictor is to limit the engine’s power and the vehicle’s top speed, and they are often required in racing competitions. In Formula SAE, an international student design competition, it is required that competing gasoline engines be fitted with a circular air restrictor no greater than 20mm in diameter. The challenge is to design an air restrictor that meets the required specifications while also allowing the engine to reach its maximum potential performance.
Our go-kart did not have an air restrictor, or anything for that matter, mounted to the engine air intake. So we decided to challenge ourselves to meet the same 20mm diameter air intake requirement set by Formula SAE and design our own restrictor. This is a perfect part to 3D print as the combination swept and extruded geometry of the part is trivial for our printer to produce, and iterating on our design becomes as simply clicking ‘Print’.
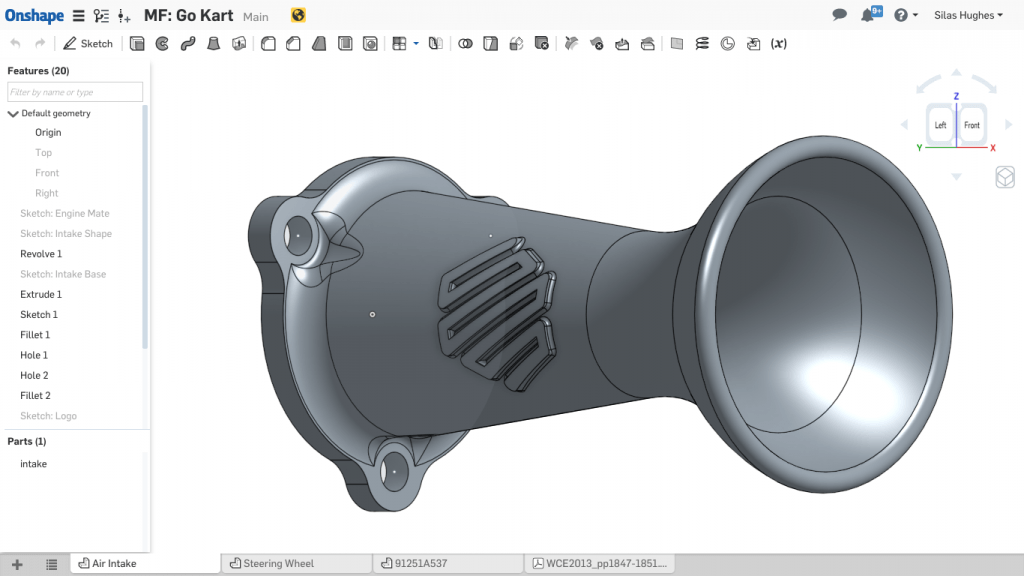
Our air intake restrictor modeled in Onshape
Using Onshape, we were able to quickly produce our model with two basic CAD operations: a revolve of the intake profile and an extrude of the base of the intake where it mounts to the engine. We also took the liberty of embossing our new MarkForged logo on the side of the restrictor.
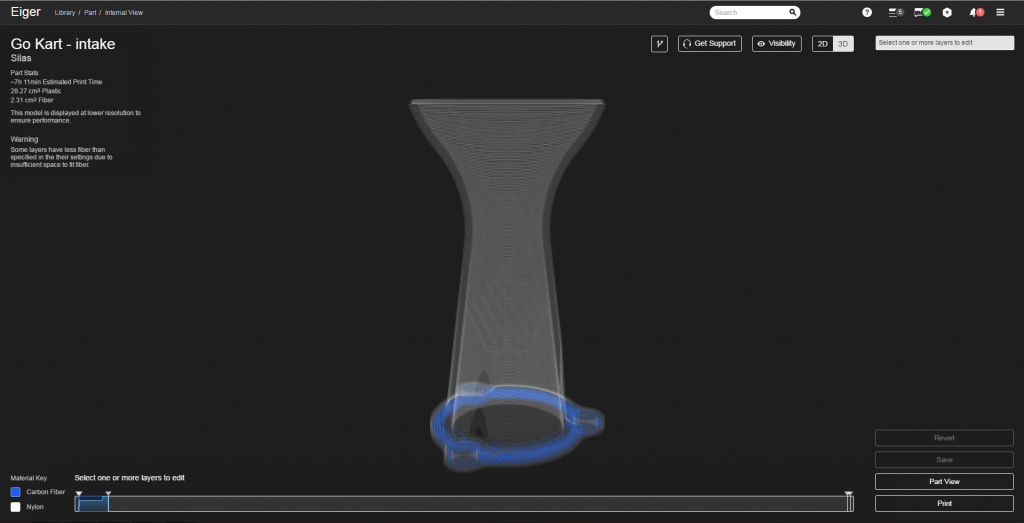
Reinforcing the mounting flange using our included software, Eiger
With the first version of our air intake modeled, it was off to the printer! Using Eiger, we selectively chose to reinforce the base of the restrictor with carbon fiber, increasing both the strength and the heat resistance of the nylon where it mates with the engine.
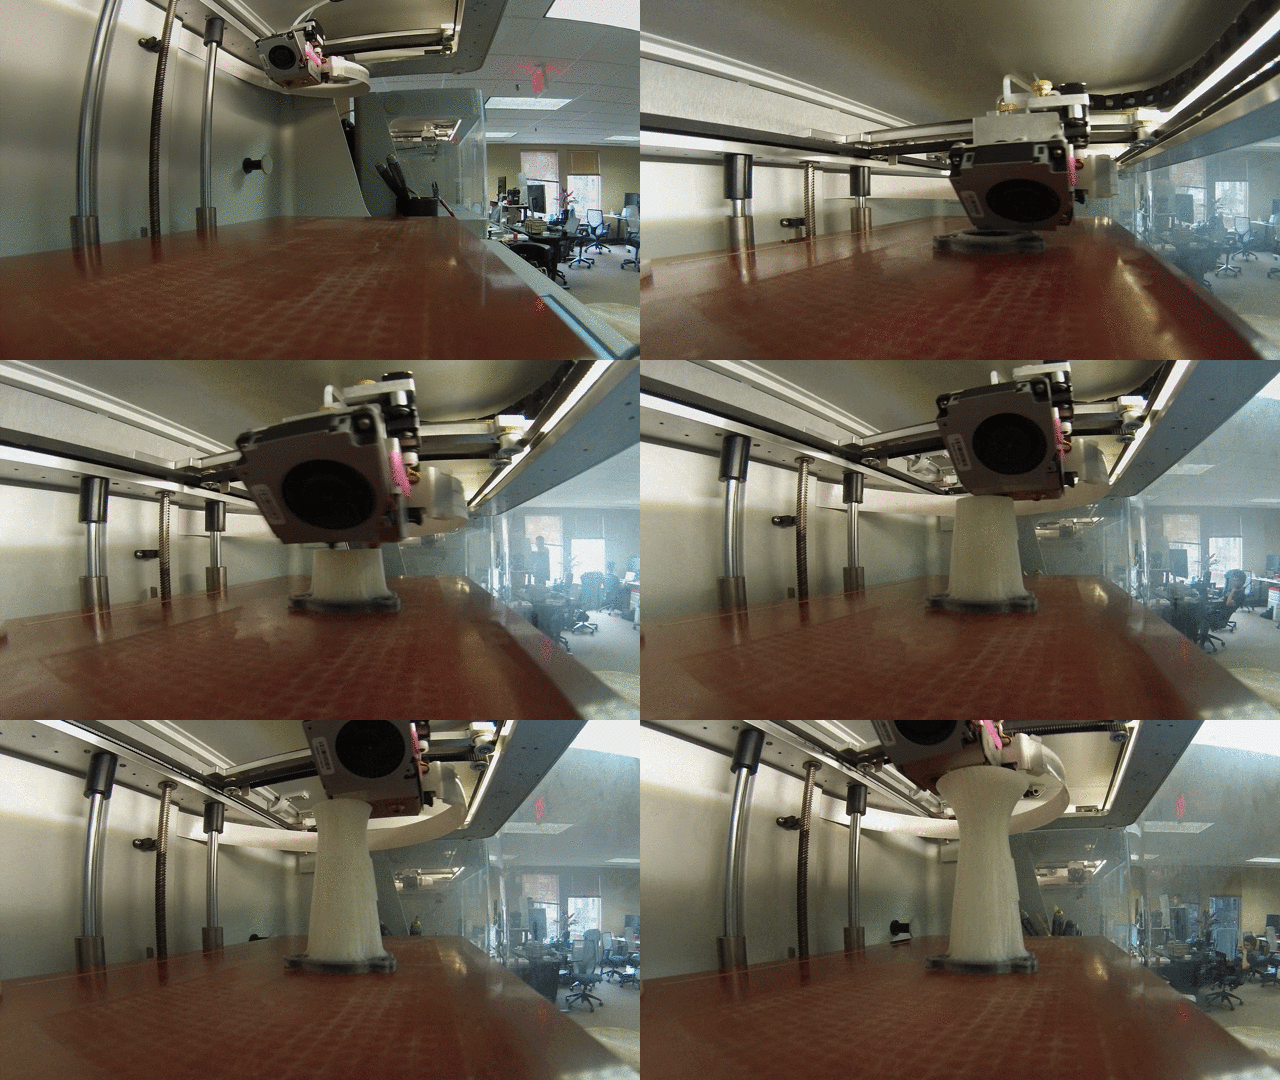
Timelapse of the printing of the air intake restrictor
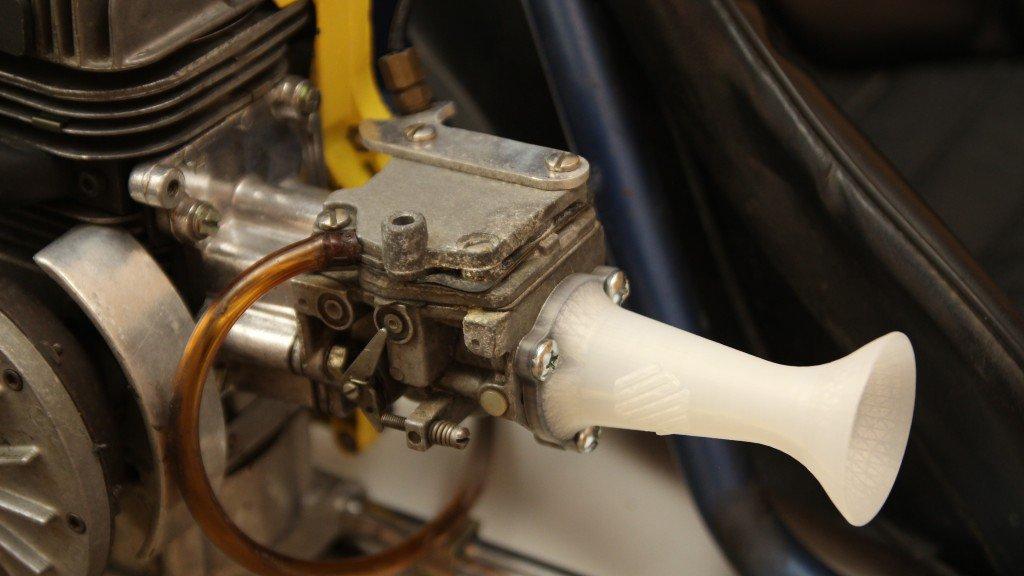
The first version of our 3D printed air intake restrictor mounted on our go-kart engine
Three ¼-20 bolts and our air intake restrictor is securely mounted to our engine. The only thing left to do to test this part is get the engine fueled up and running. We are going to take this project as far as we can, learning and experimenting along the way, and we hope you follow us as we do!
Want to see the Mark Two in action? Request a Demo today!

